The smart move would have been to toss this puppy….but alas, as the saying goes, “for $50 more, you can fix it yourself.
This indicator is fairly solid, but being honest (is there any other way to be?) it is kind of low end construction. There is no way I could discover to get to where the bottom jewel is. It look like riveted construction
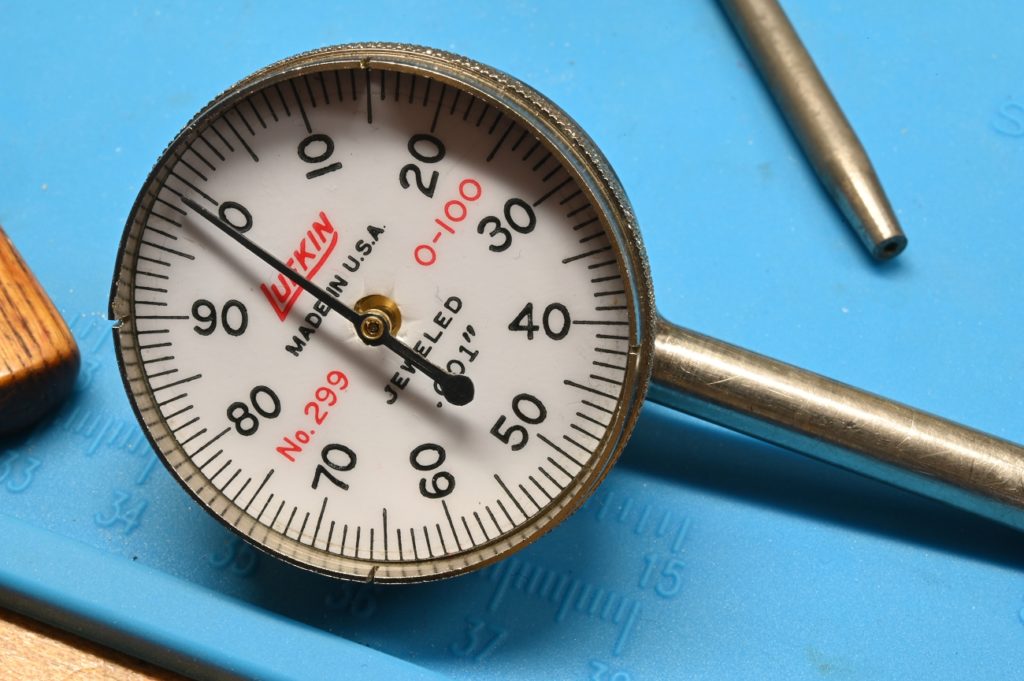
The symptom was that the indicator was sticky and sluggish.
The indicator comes apart easily enough. The upper bezel holding the crystal is a friction fit. With the crystal out of the way, pry the hands off. I prefer levers over watch hand pullers. (image is from a different indicator as an example of using the levers)
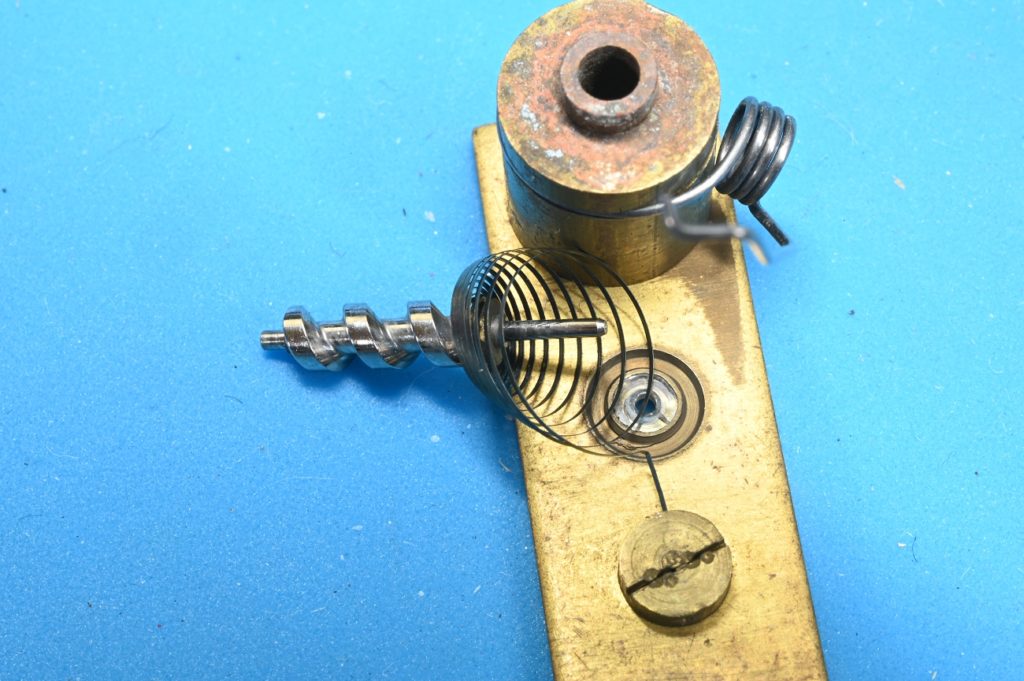
…and you can see the spring holding the lower bezel place. This spring, holding the lower bezel, is easily removed
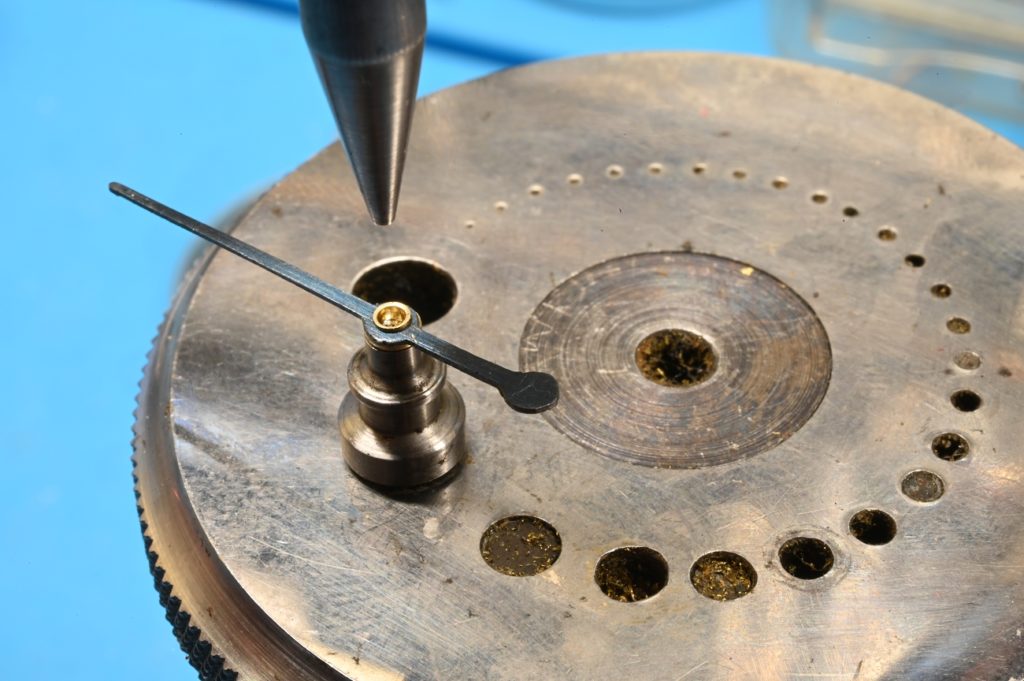
This is a 1 x 3 mm ball bearing and “chaton” or holder for the ball bearing I made
I pressed the sleeve on the shaft and prepared to gently turn it to the bearings ID.
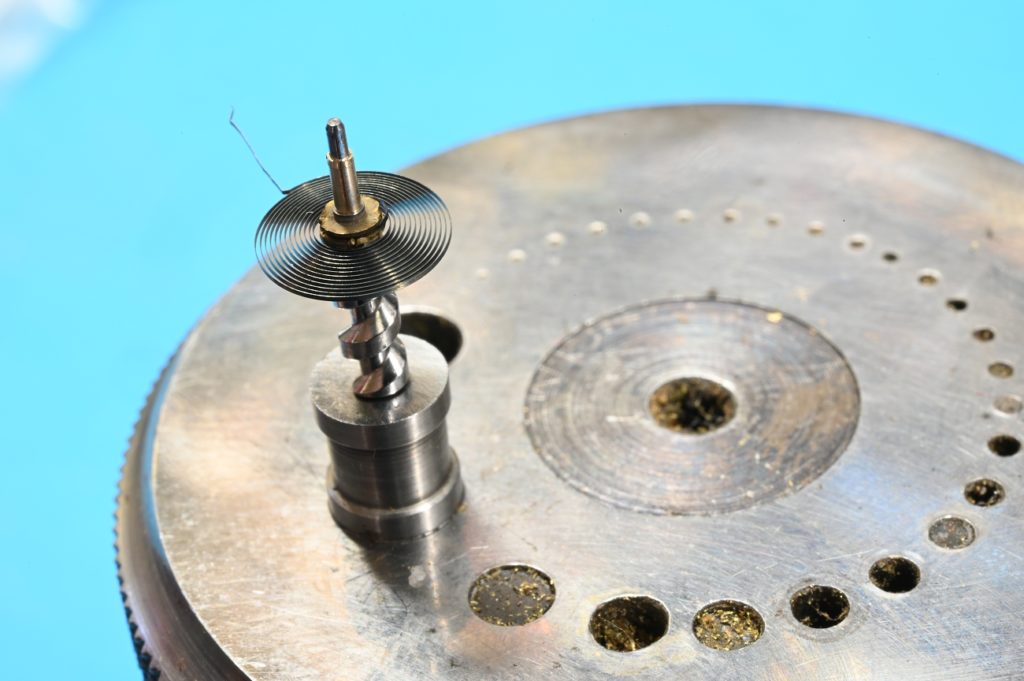
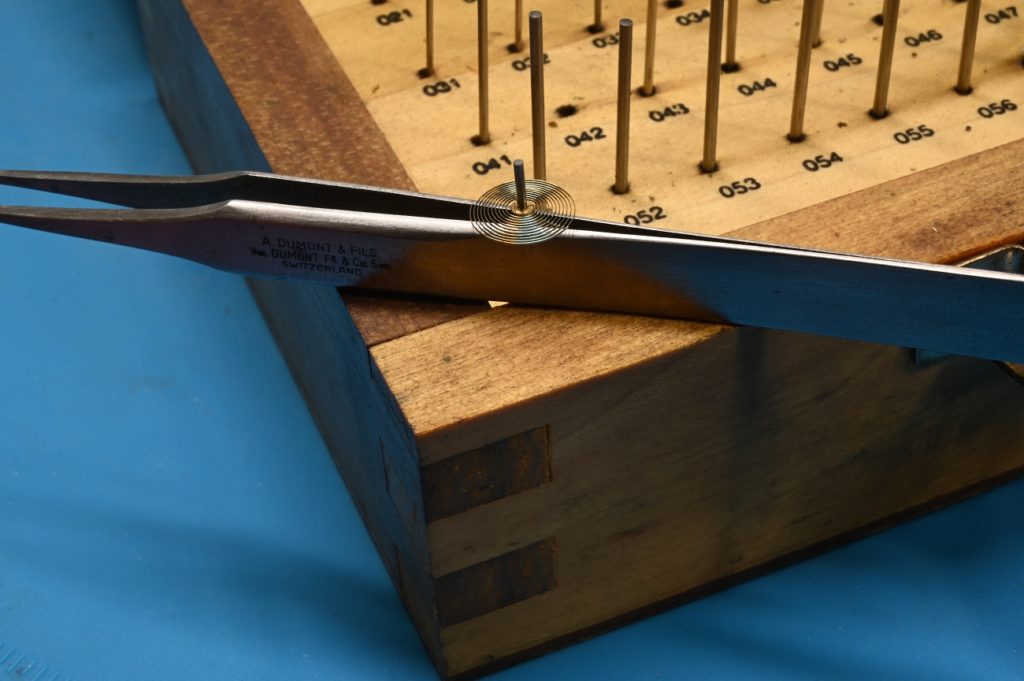
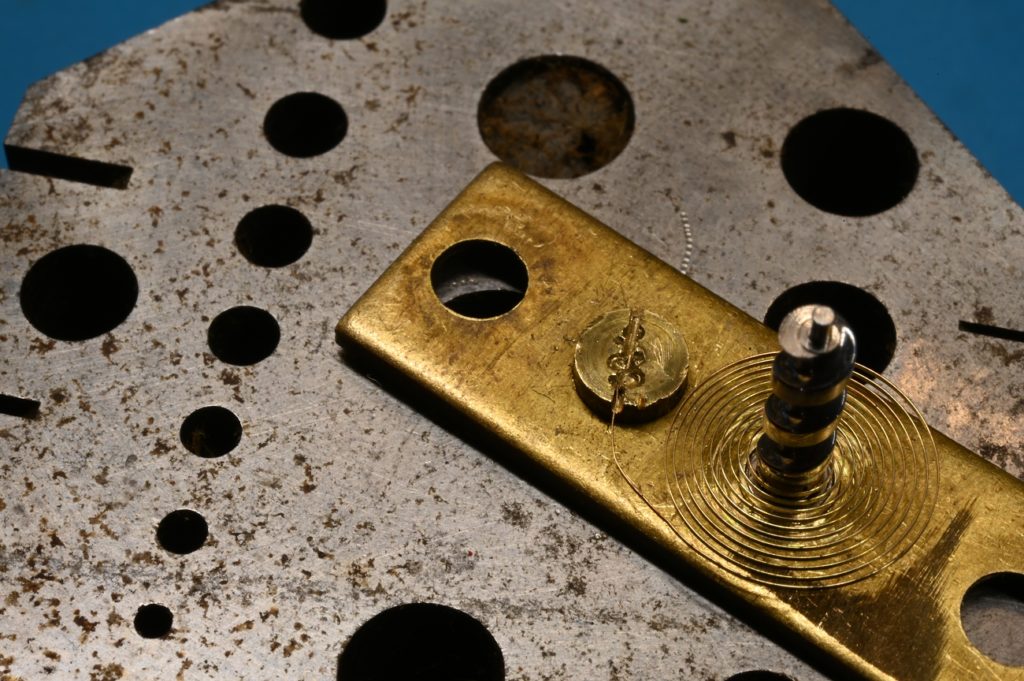
ok, we can recover. I found another replacement hairspring. Watch hairsprings are too small but this one, intended for a small clock such as perhaps a carriage clock should do. I sized the bore with pin
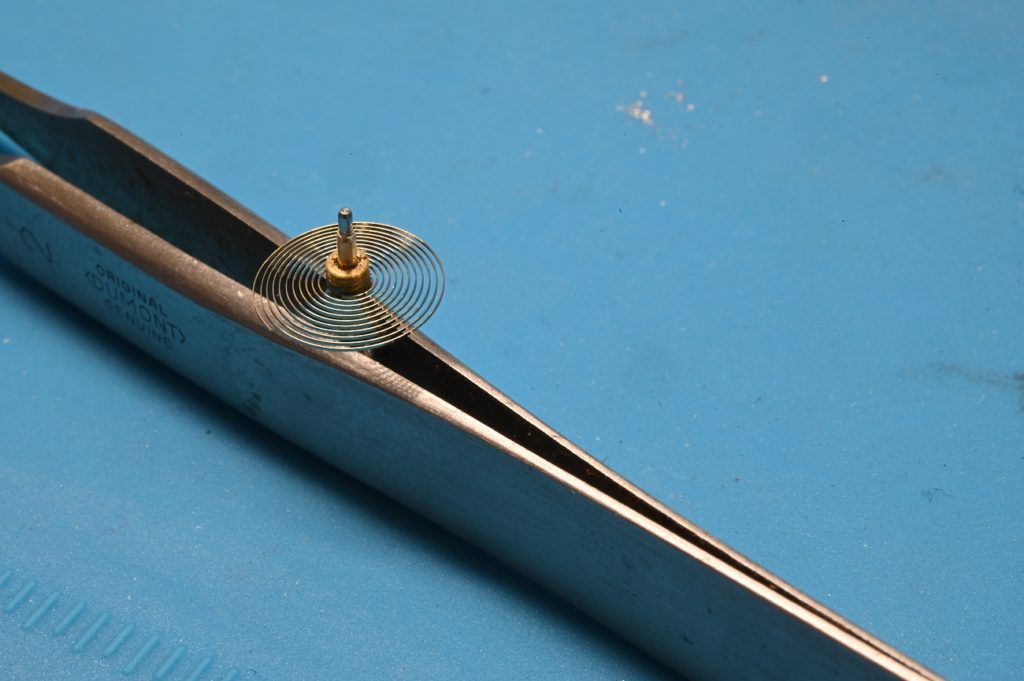
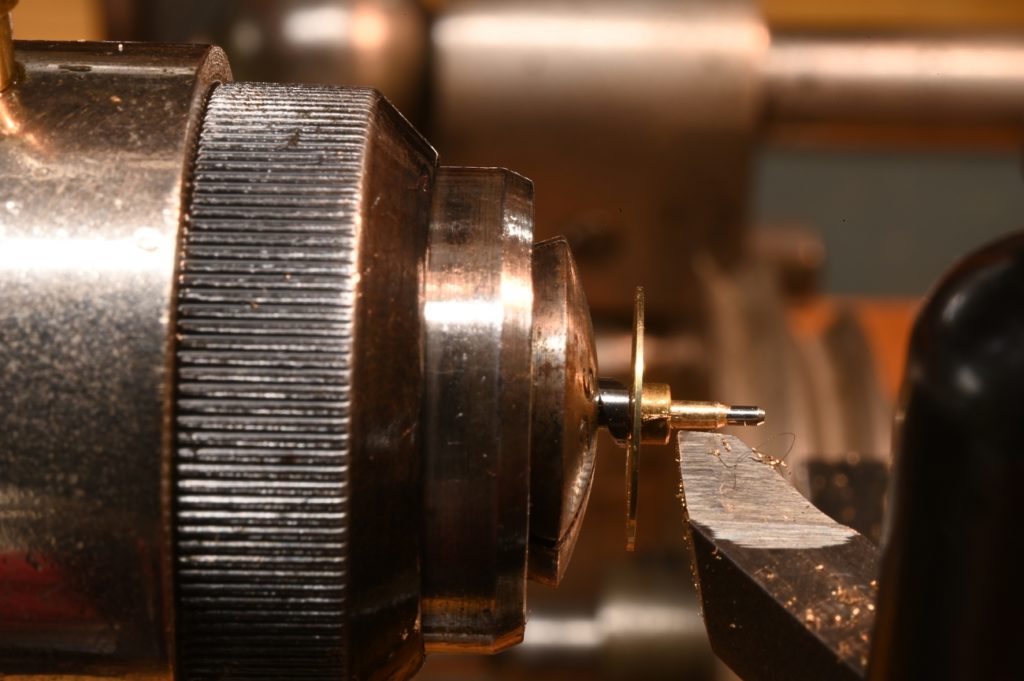
the new hairspring is pressed on the shaft
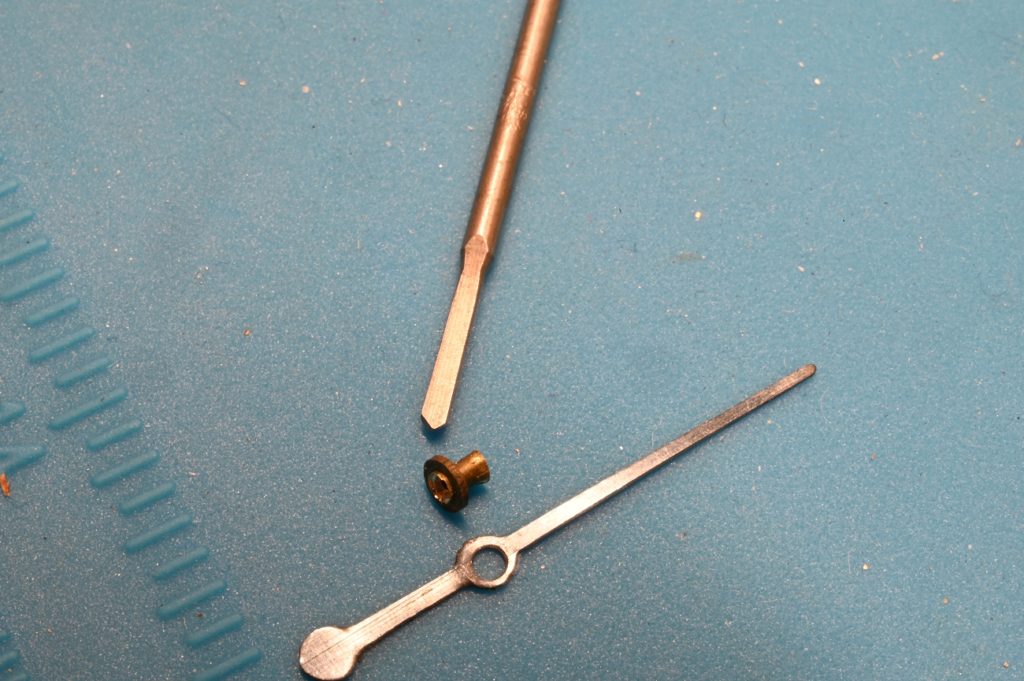
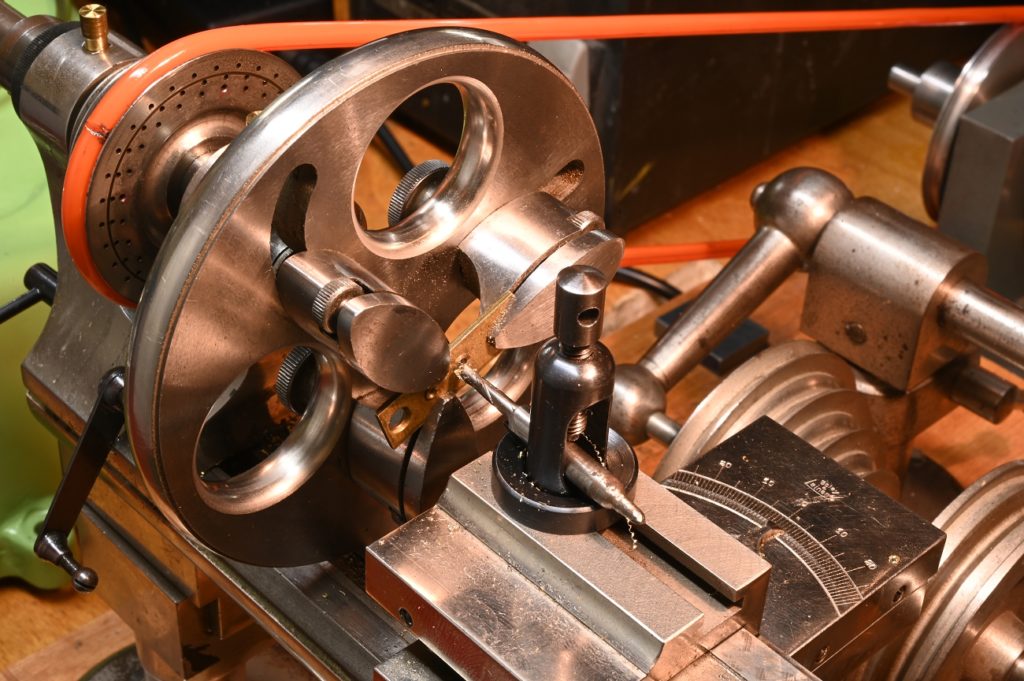
The piece of brass holding the hand on also needed some help. The and was very loose on the shaft. It is riveted on the the hand. I carefully used a small watchmakers space drill to remove the rivet
and the bore broached to suit the shaft
and riveting the hand into position
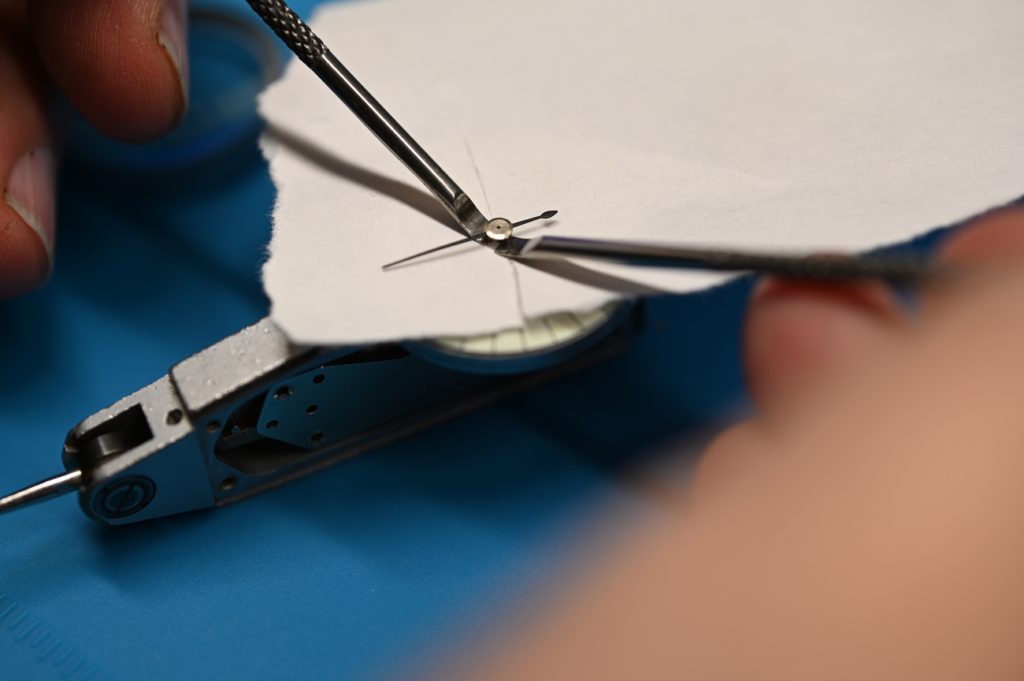
carefully place the spring in the slot, material around the slot is punched to close in the on the spring. shade tree imo, but when in Rome…
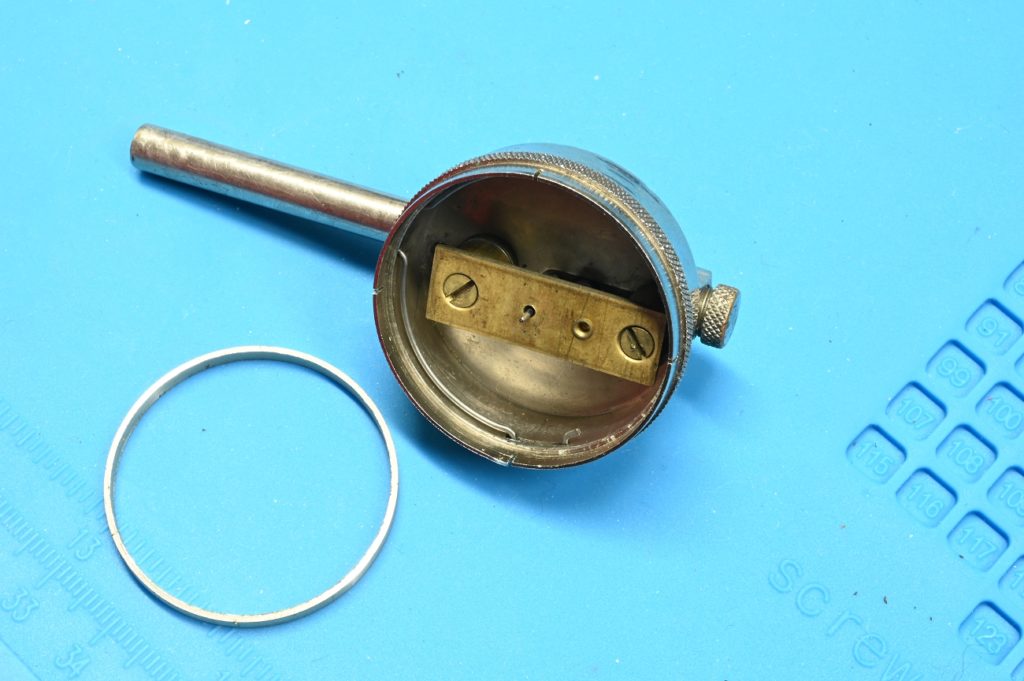
Pry up the steel ring and dial
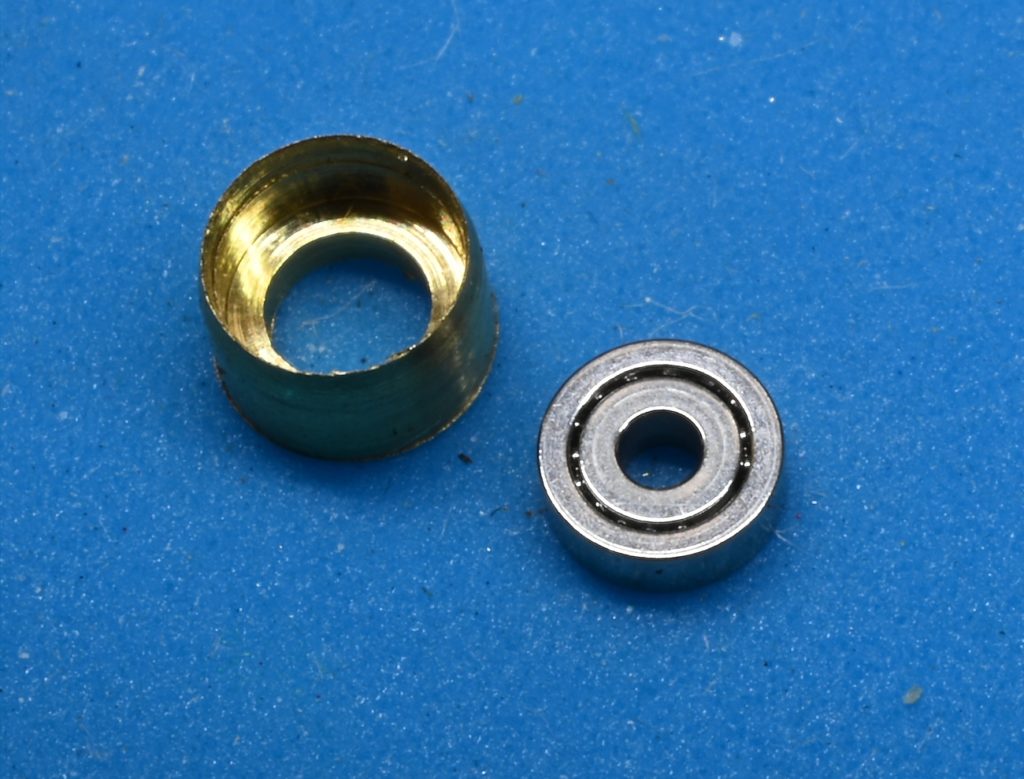
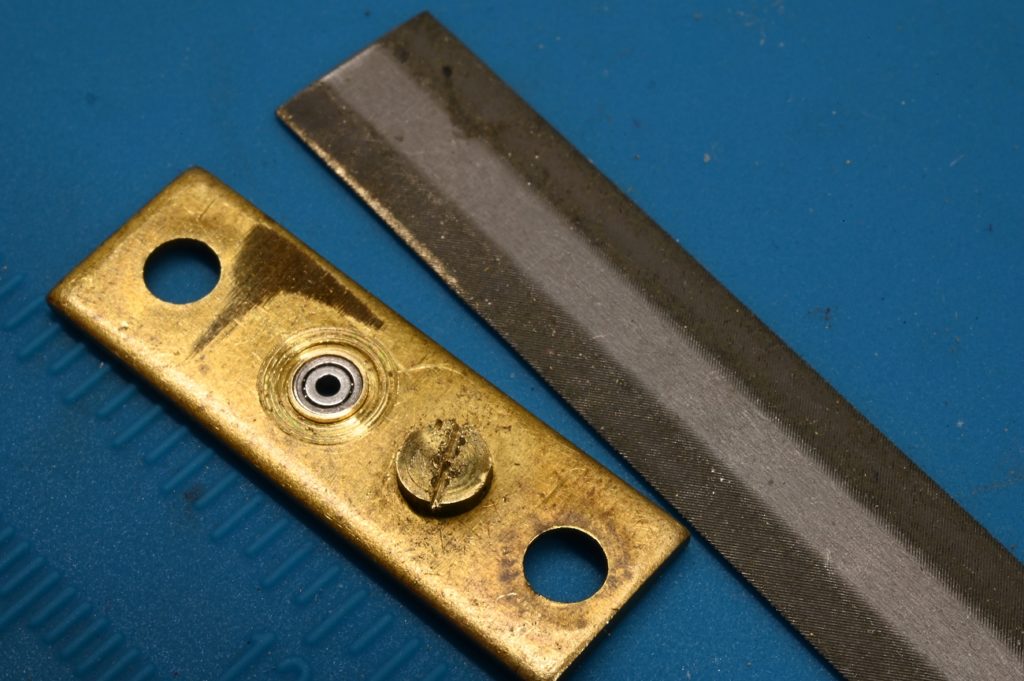
The problem, or at least one problem, is the cracked up jewel. These jewels are larger than that use in a watch and expensive enough ($25 or so + shipping) its usually not worth it especially if a few are required. The solution I discovered, is to replace them with miniature ball bearings
the old bearing was “rubbed in” or crimped might be a better non- watchmaker term. I turned away the material, pressed out the bearing then bored it (using a ground endmill) for the chaton
The bearing ID was larger than the shaft so I made a very small sleeve
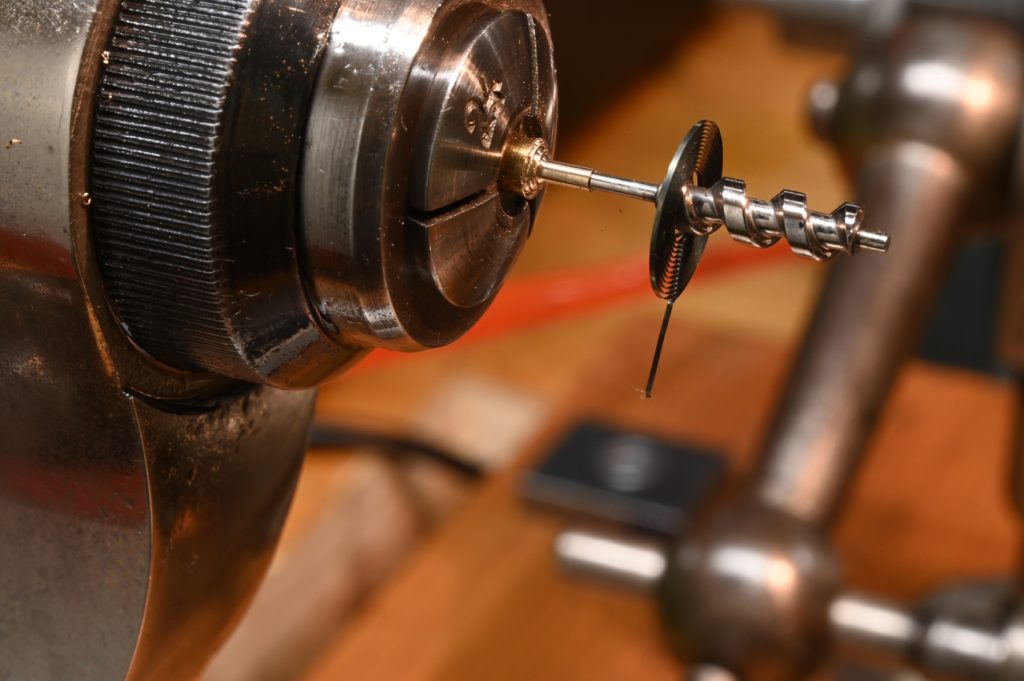
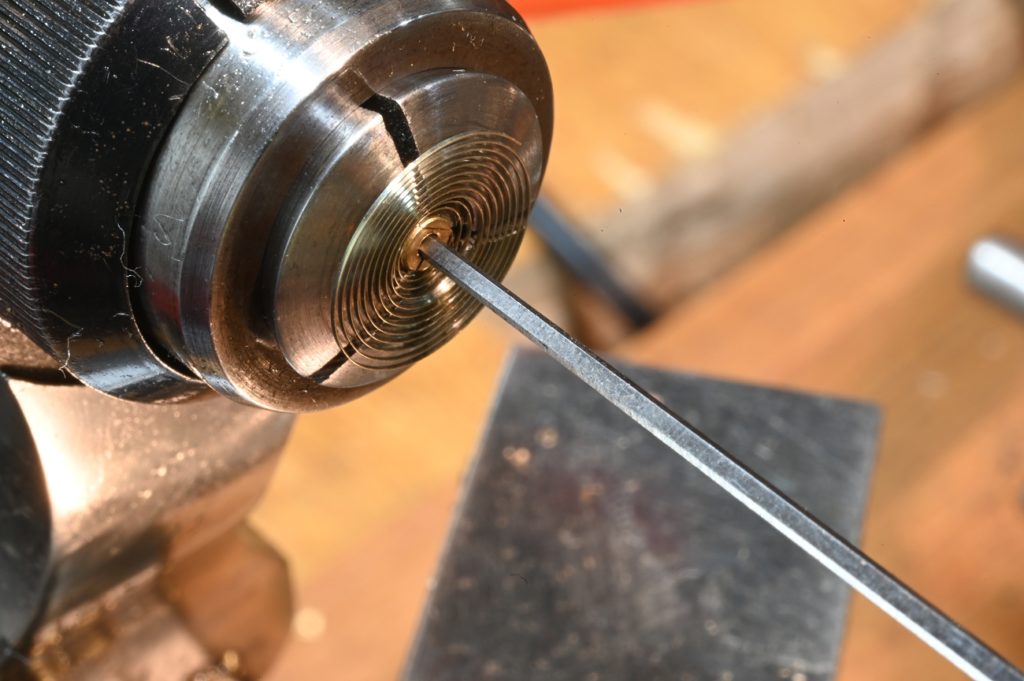
What could go wrong? Well with all the handling I managed to break the hairspring. My ego sprang to my defence and declared the spring was probably already weakened by hackish method of attaching to its collet.
and then adjusted to a nice press fit with a watchmakers broach – a five side broach with a very slight taper. A lot of watch making is done with measurement and tapers play a big part in that. If I broach the bore until the shaft just starts to go it, I’ll have a good press fit
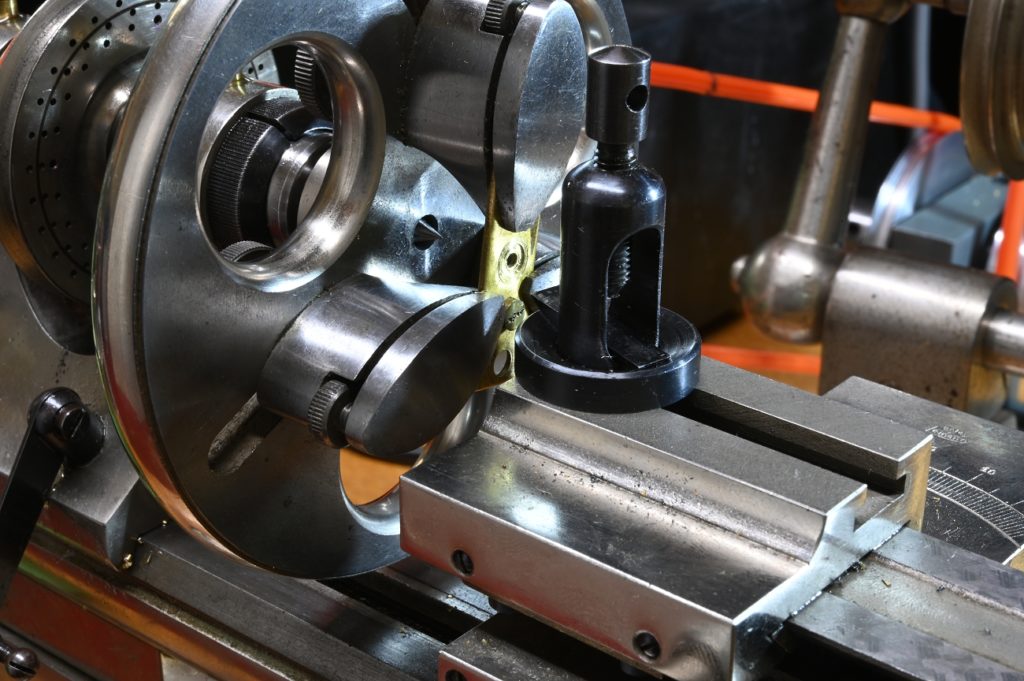
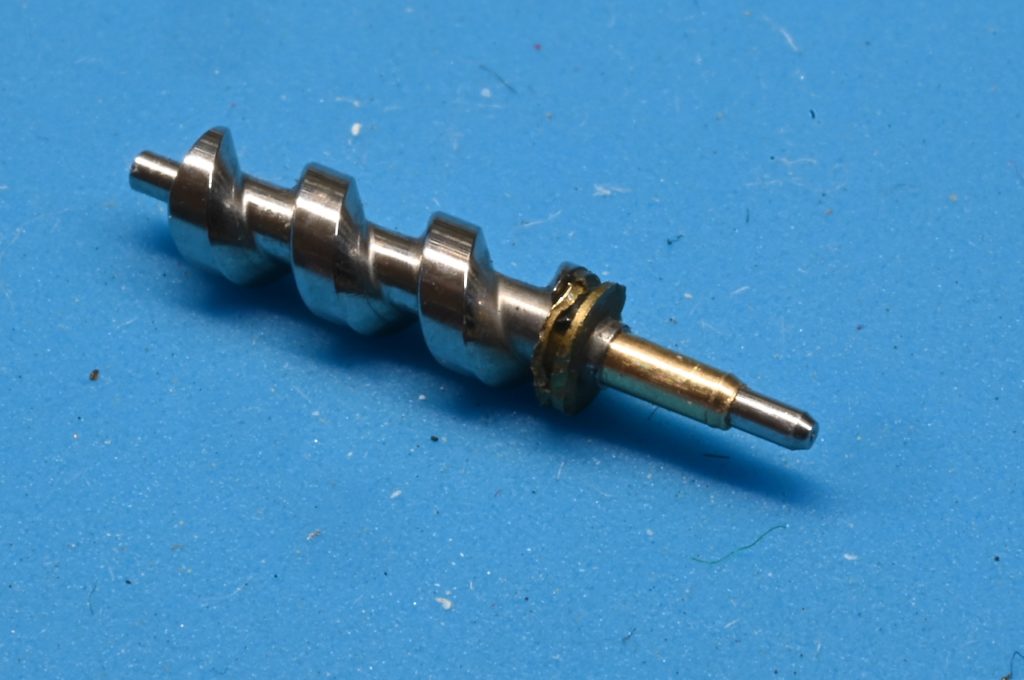
and then much of the collet is very carefully turned away
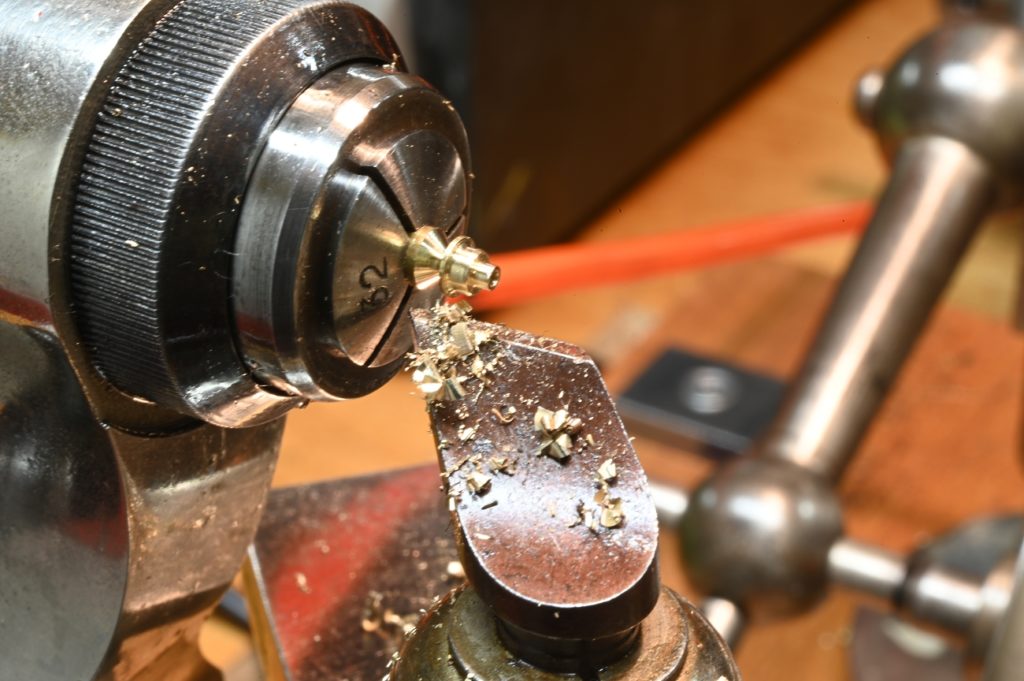
A new piece is made
Trial fit with the hand
To assemble (you can see the bearing has been pressed in) I used a watchmakers screw slot file to clean the groove to crimp the spring in place. A rather crude methodology!
The indicator is back together, I need to clean the crystal and press on the bezel