A Basic Shop Photography Primer

My Photographic Progression


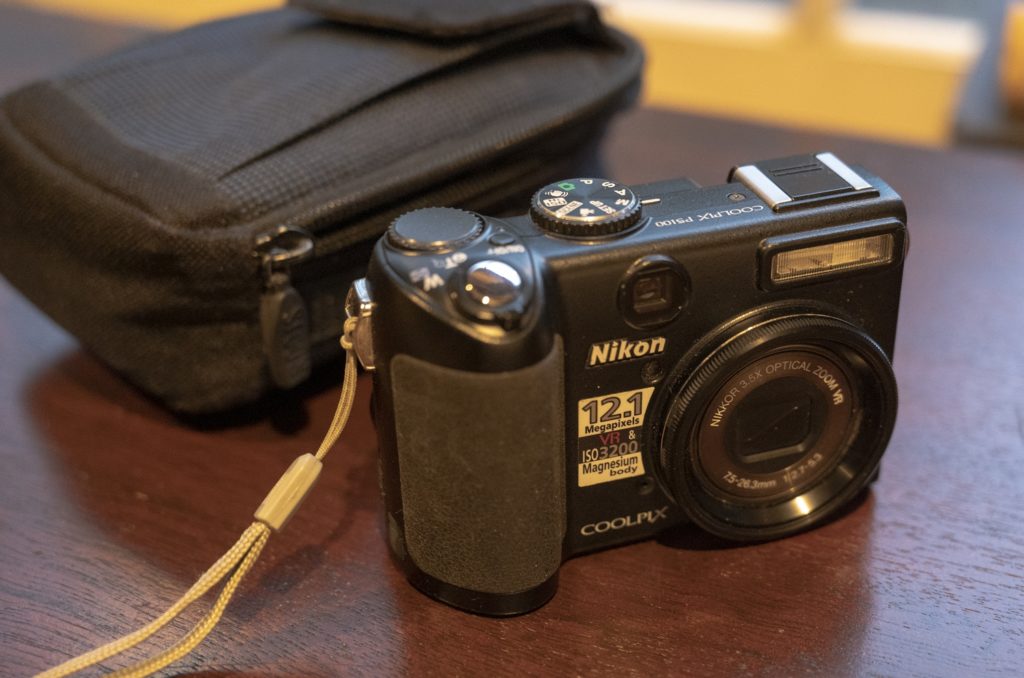
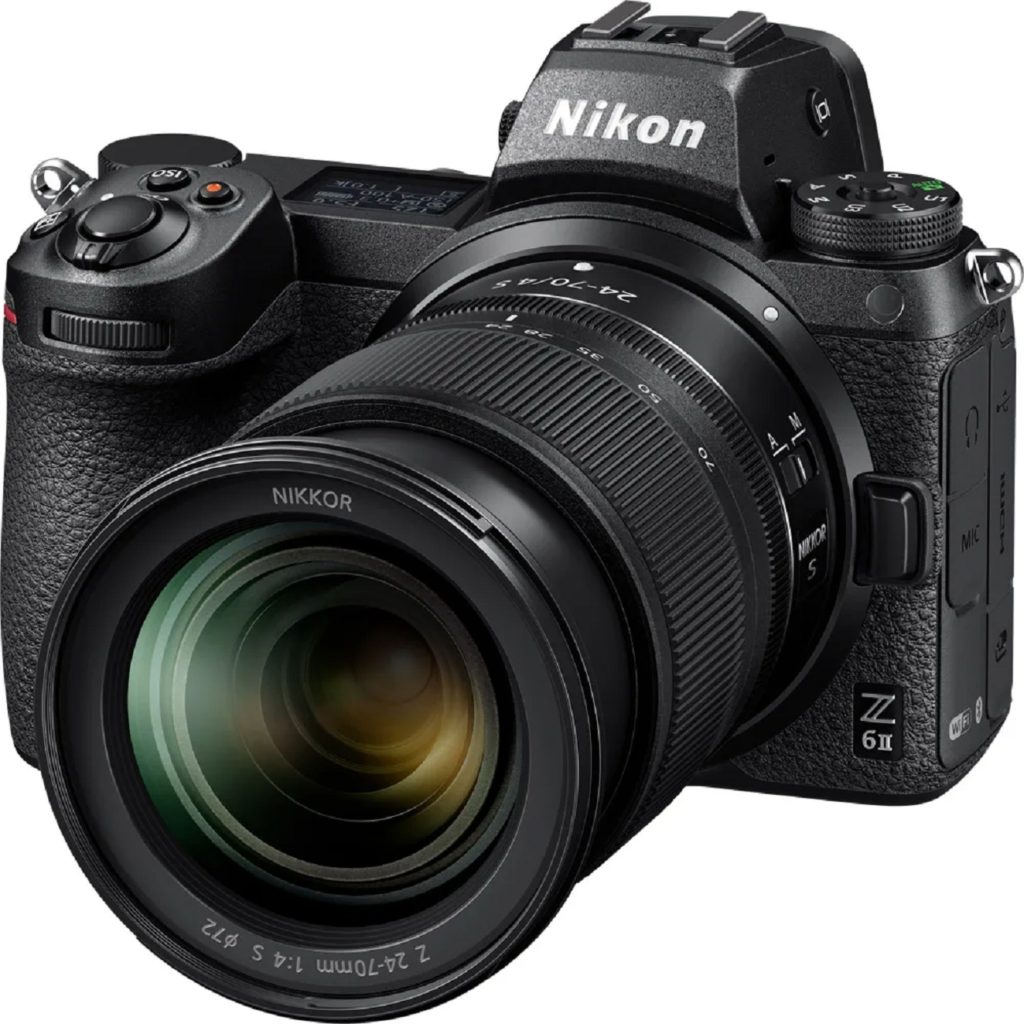
I’ve been splurging a bit lately on some new camera.  Lots of fun, but expensive enough I have to working the justifications!

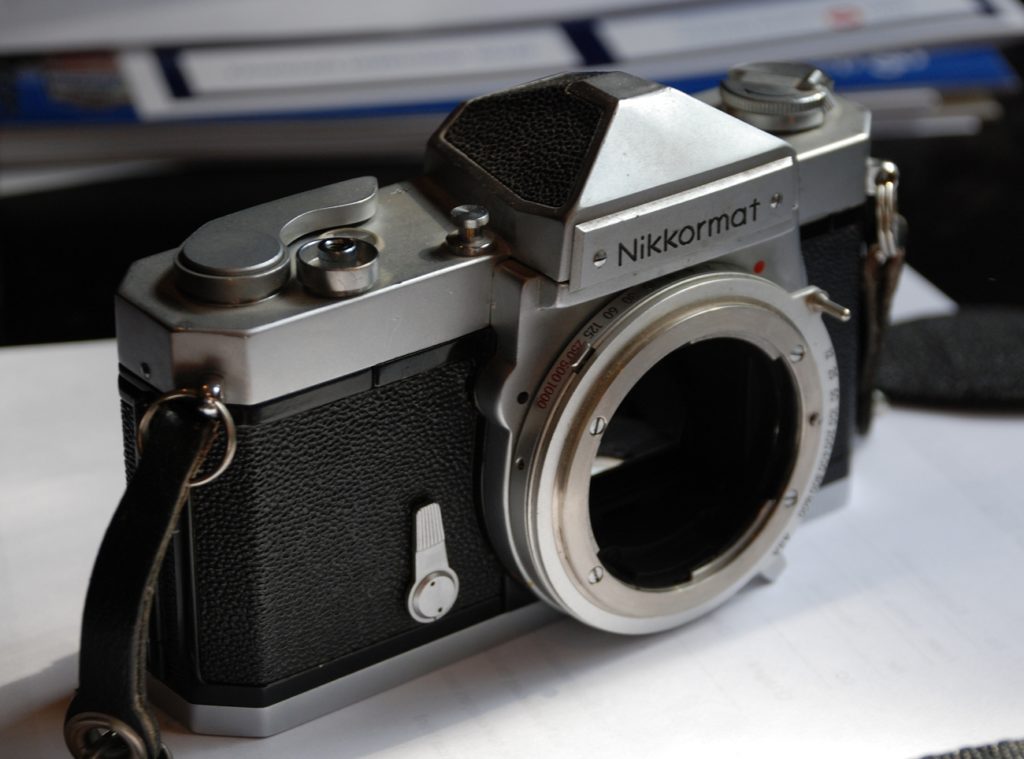
At 14, and with my first summer job, I save my pennies and bought a used Nikkormat.  What a beast, and its still going strong.  That’s when quality products really were made well.  Nikon now?  umm, yes and no…at least based on some recent experiences.  However they’ve got me with lens lock-in.

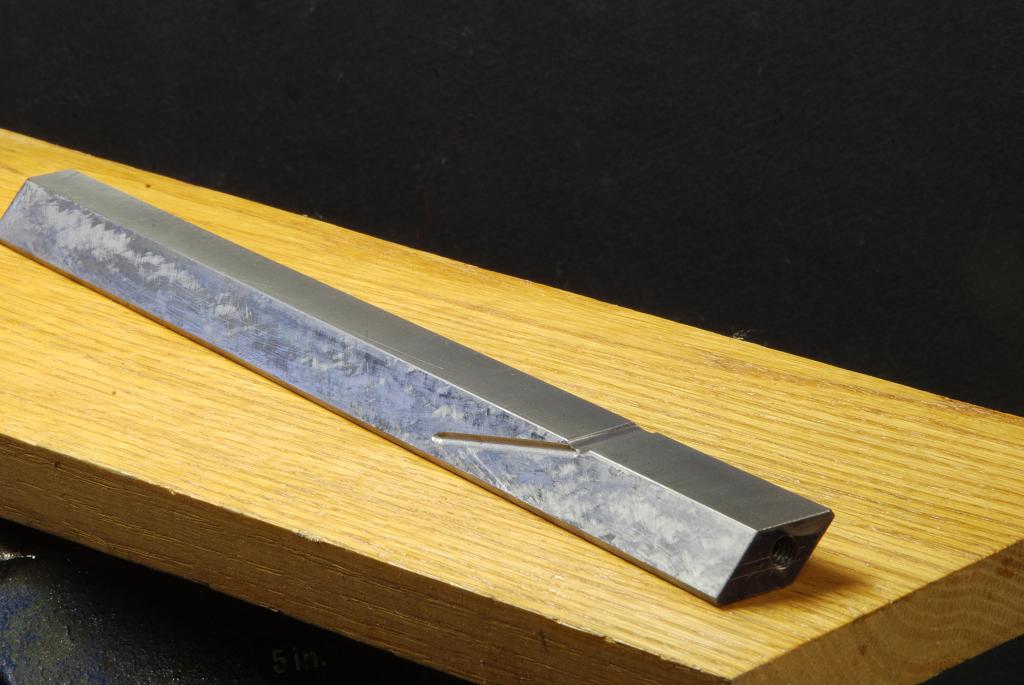
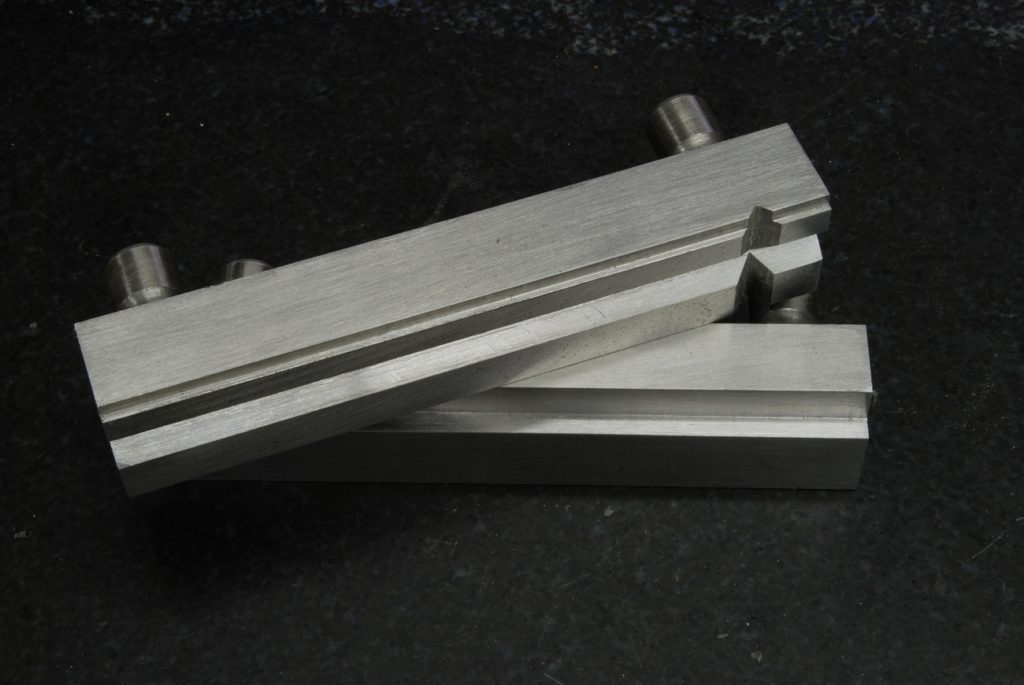
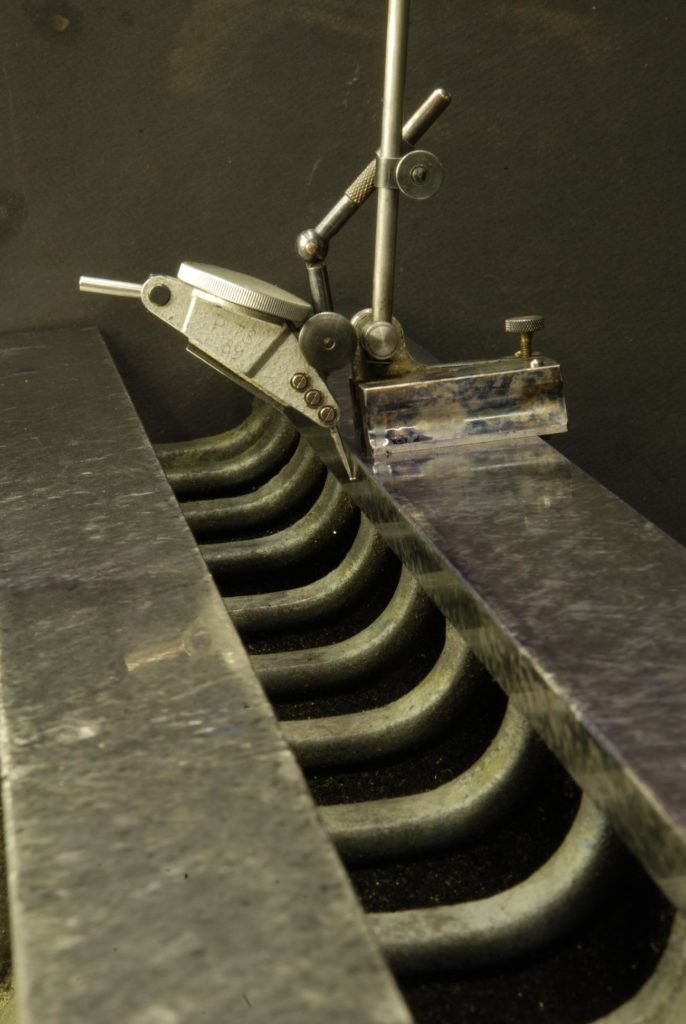
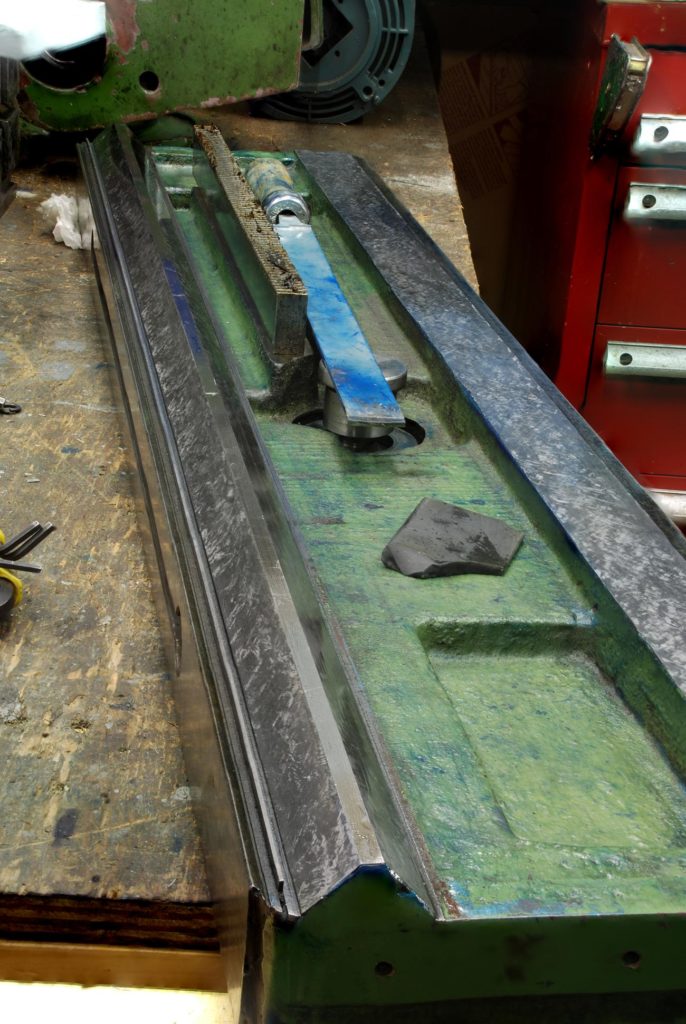
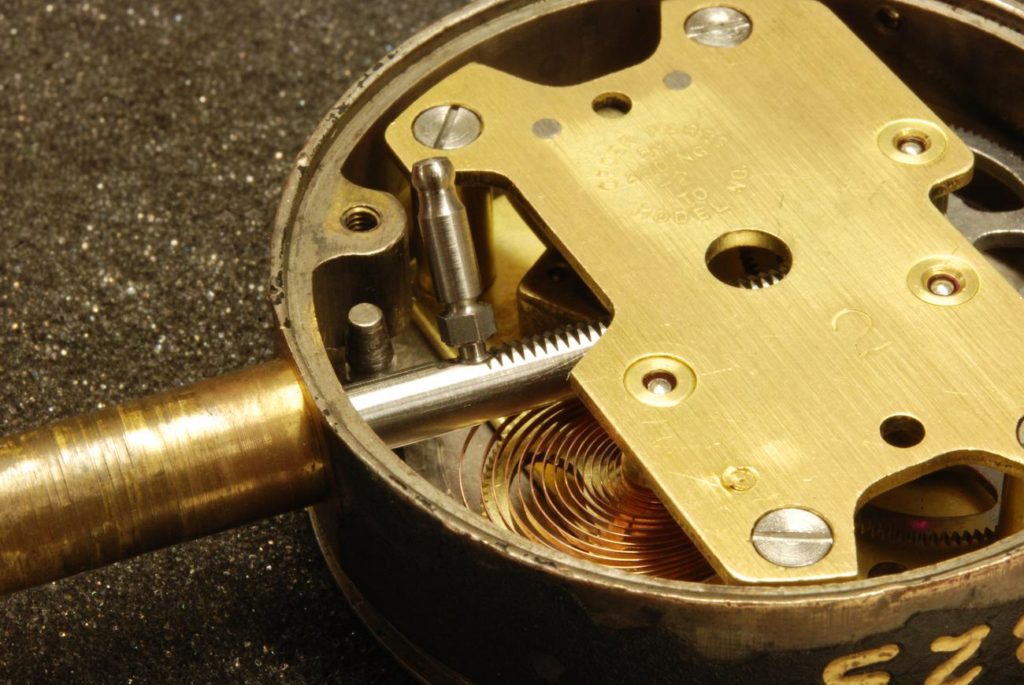
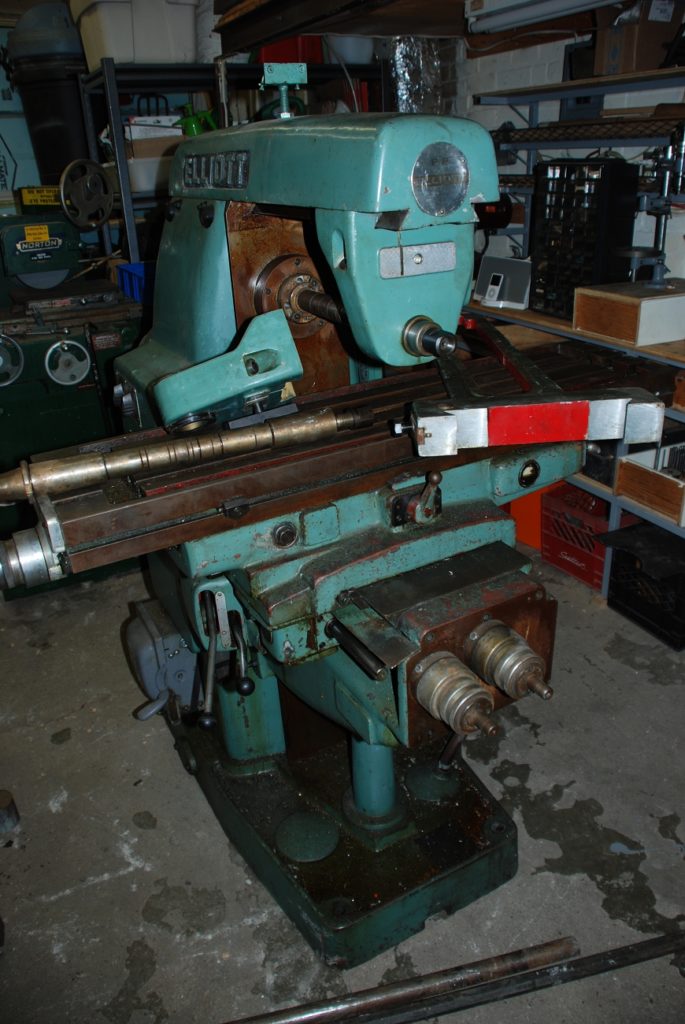
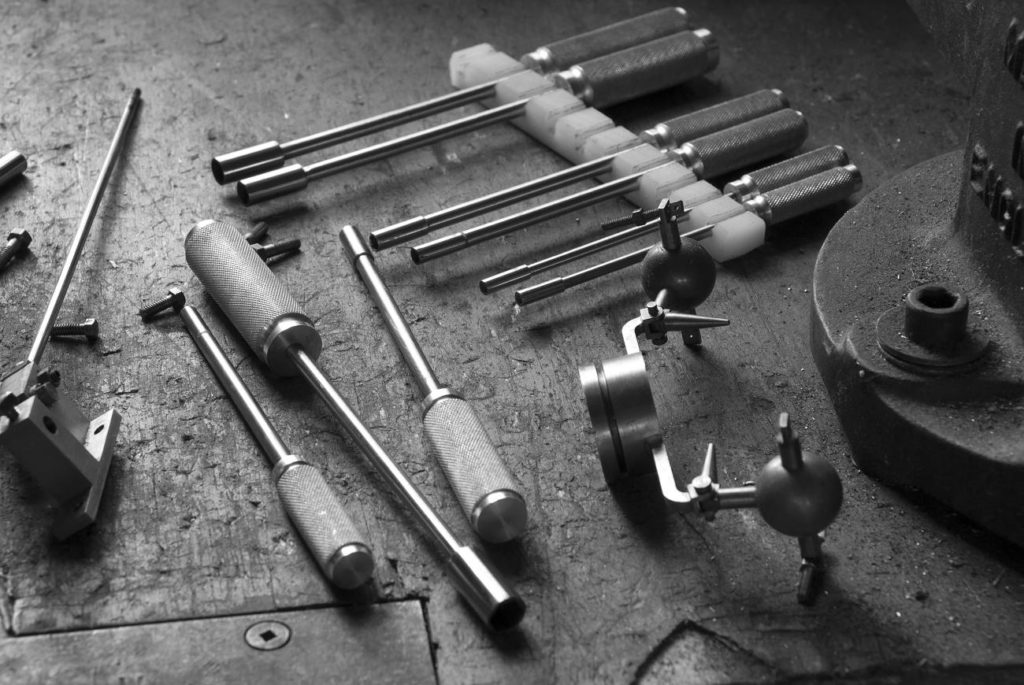
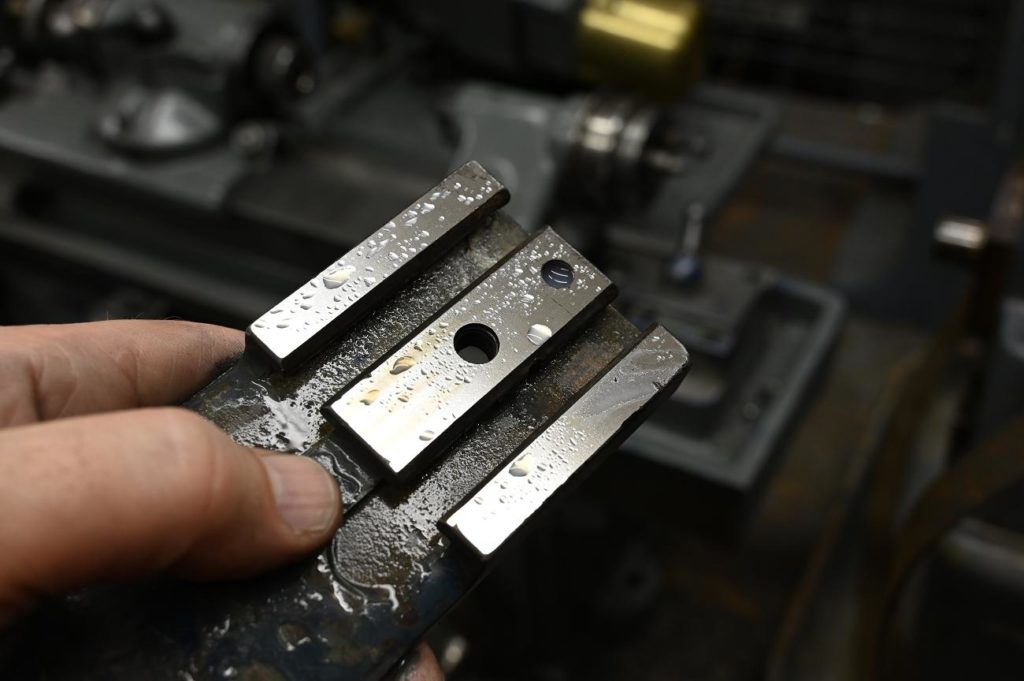
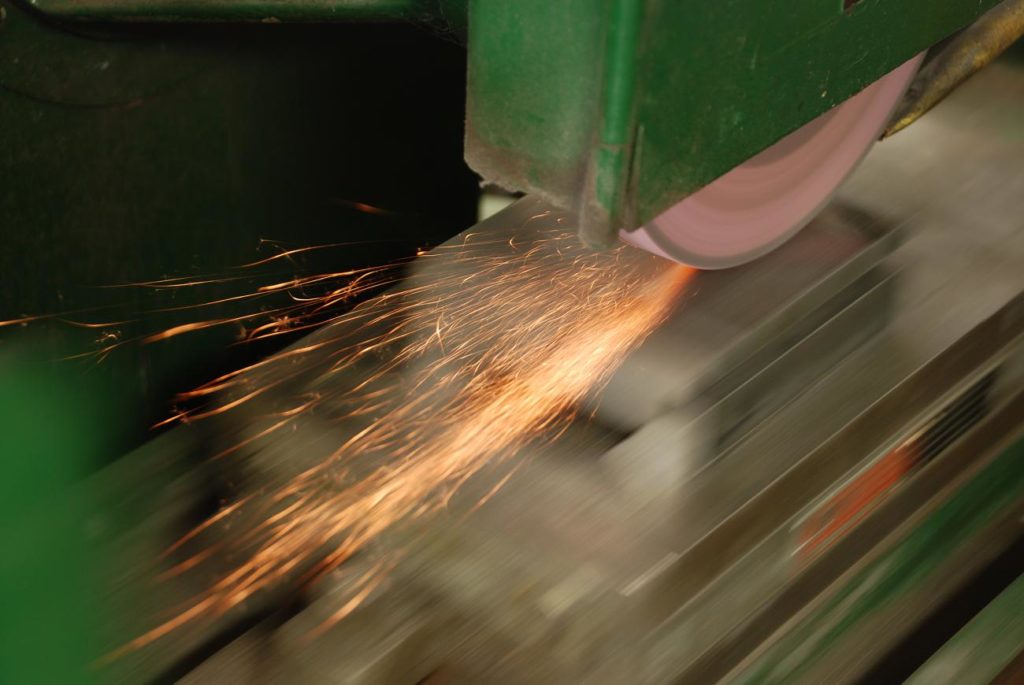
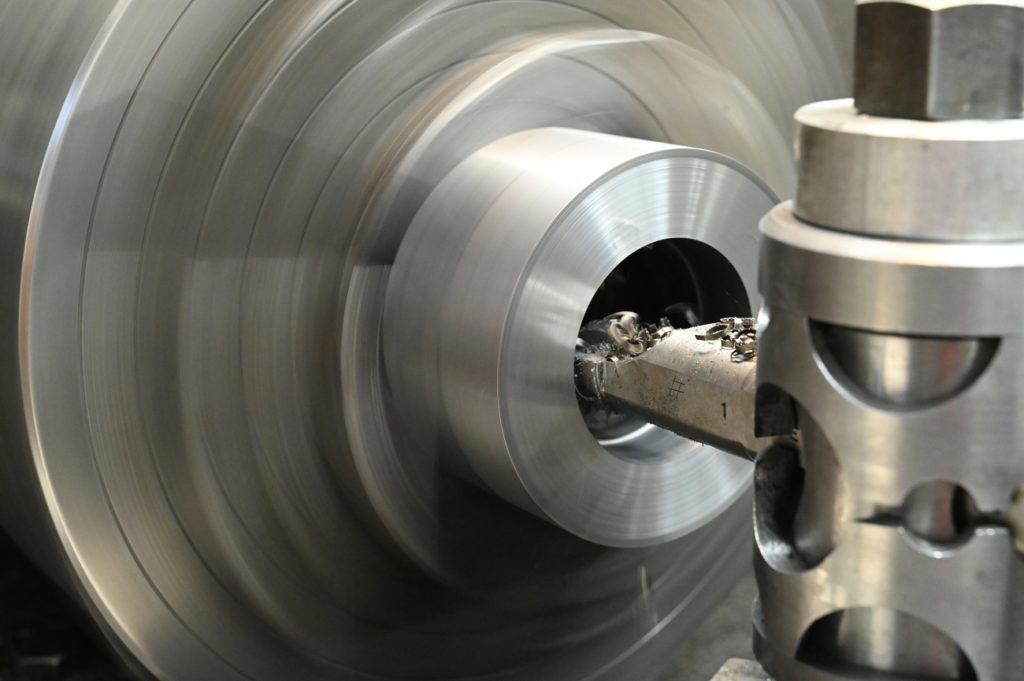
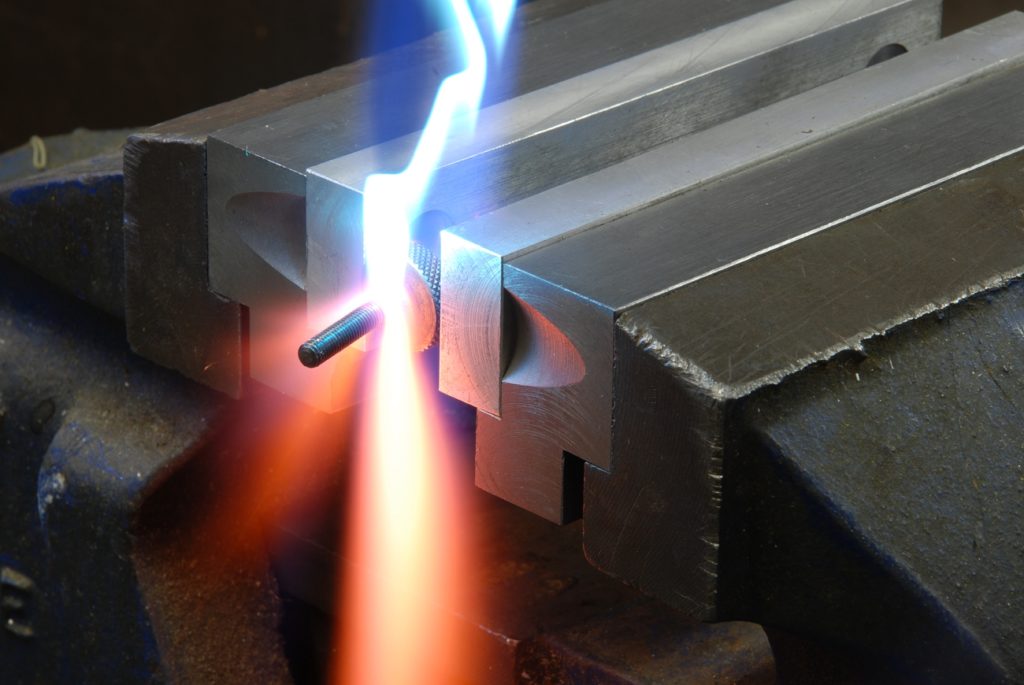
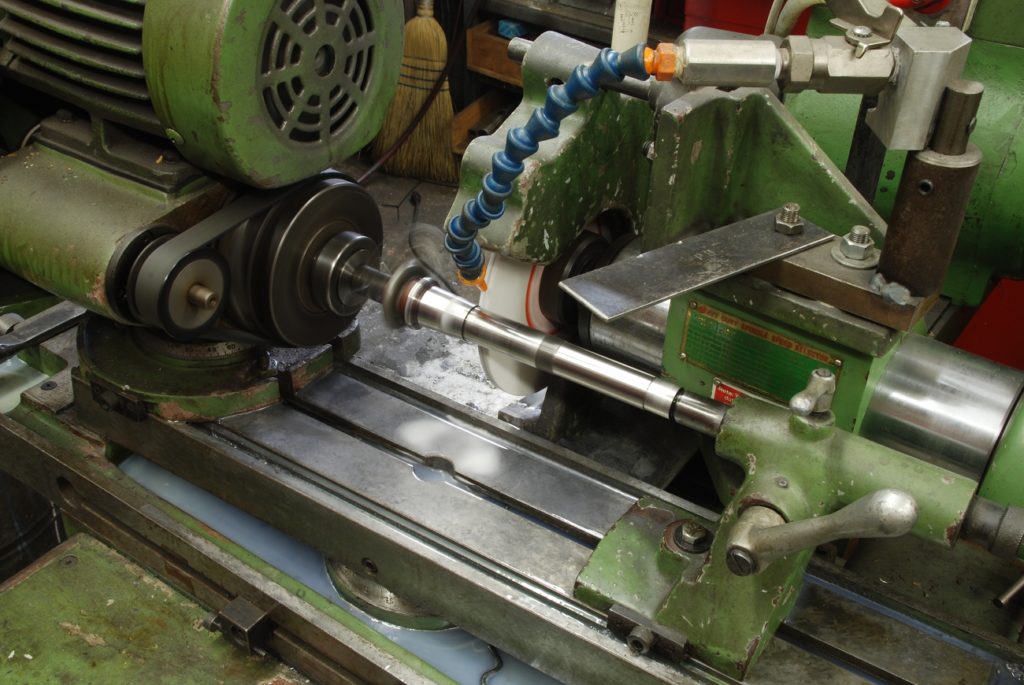
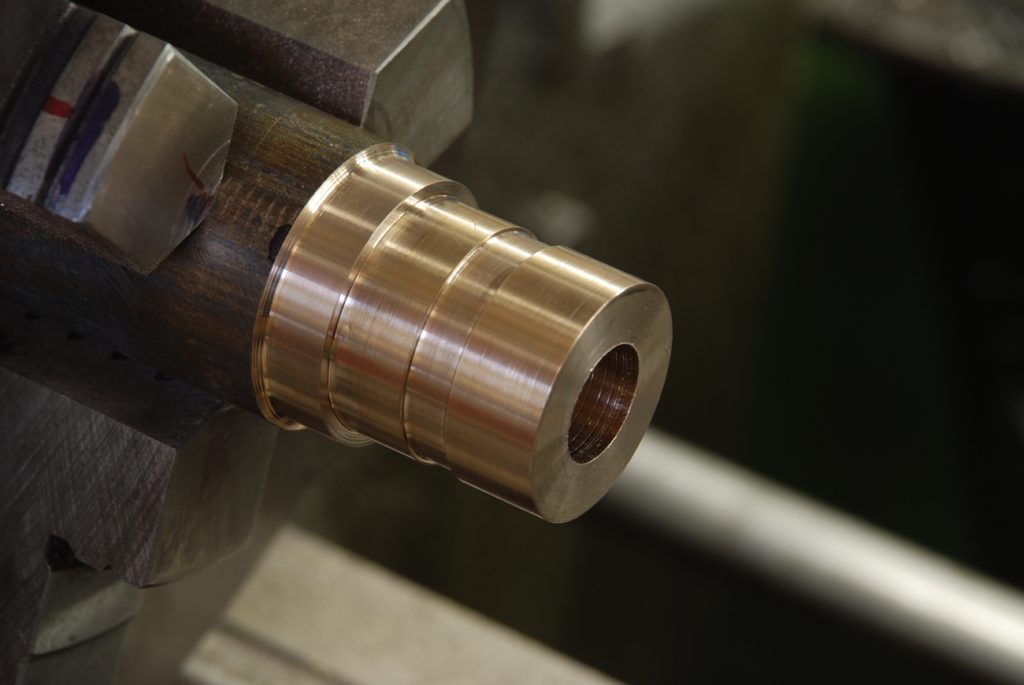
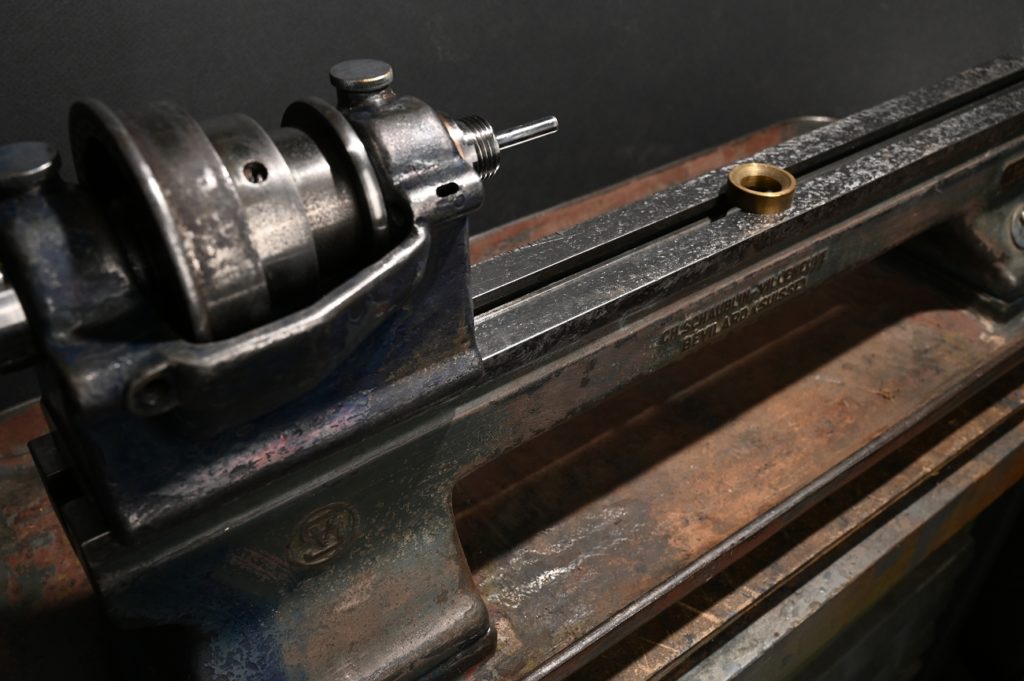
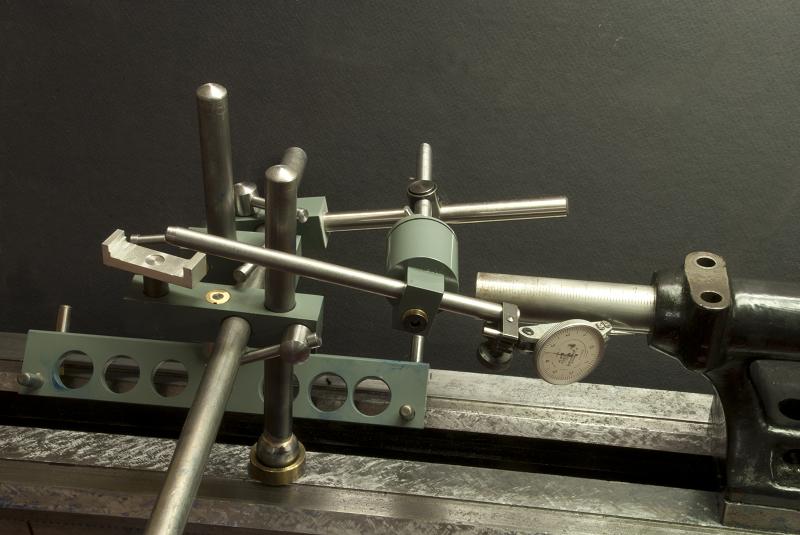
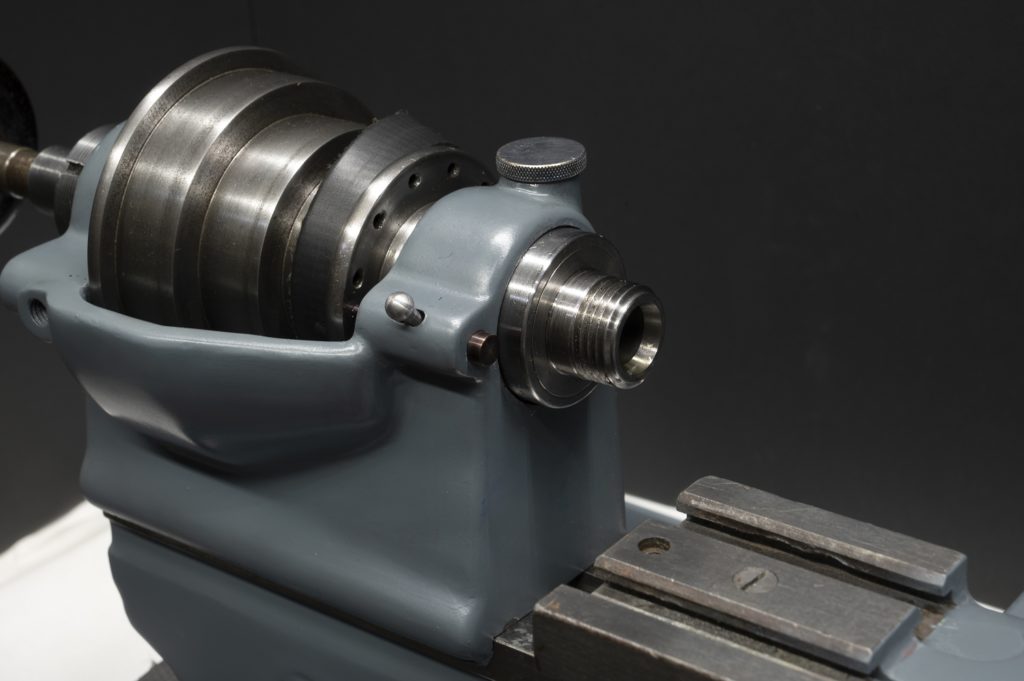
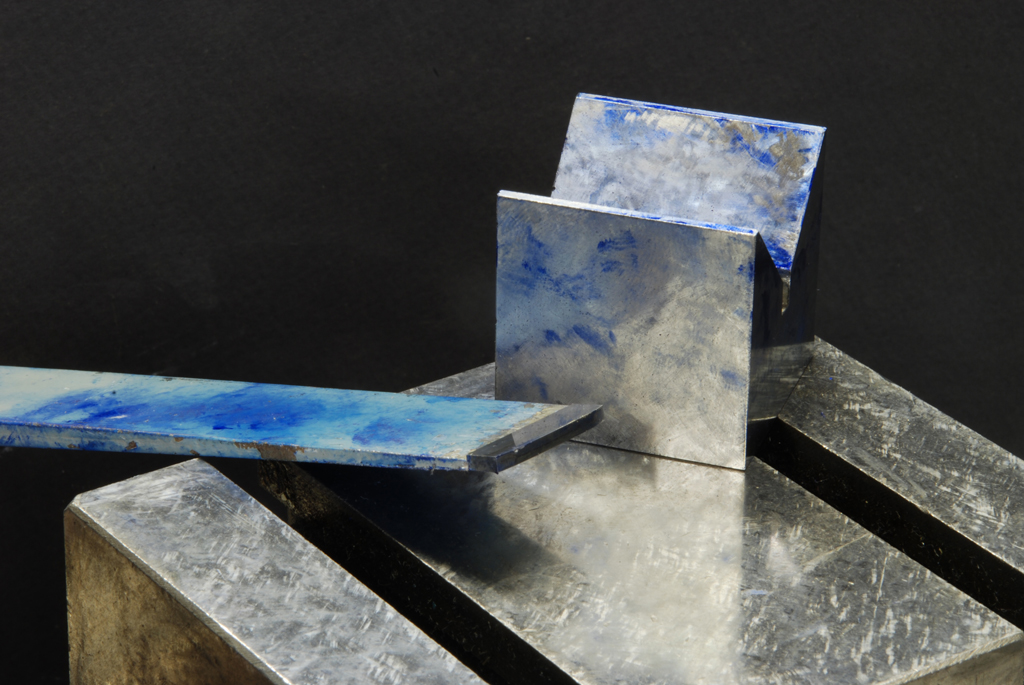
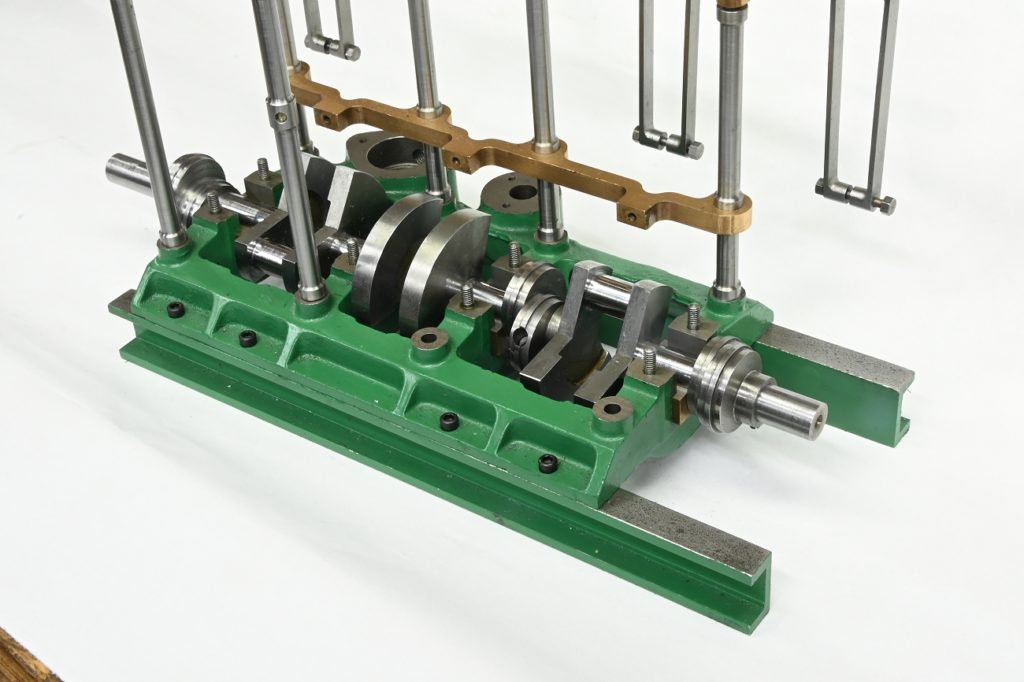
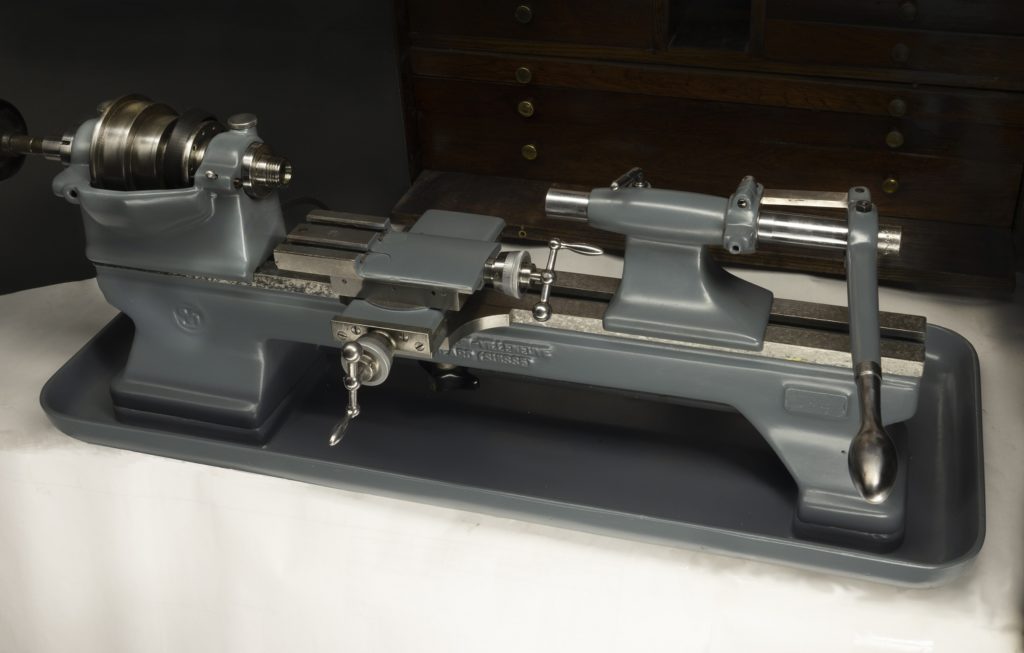
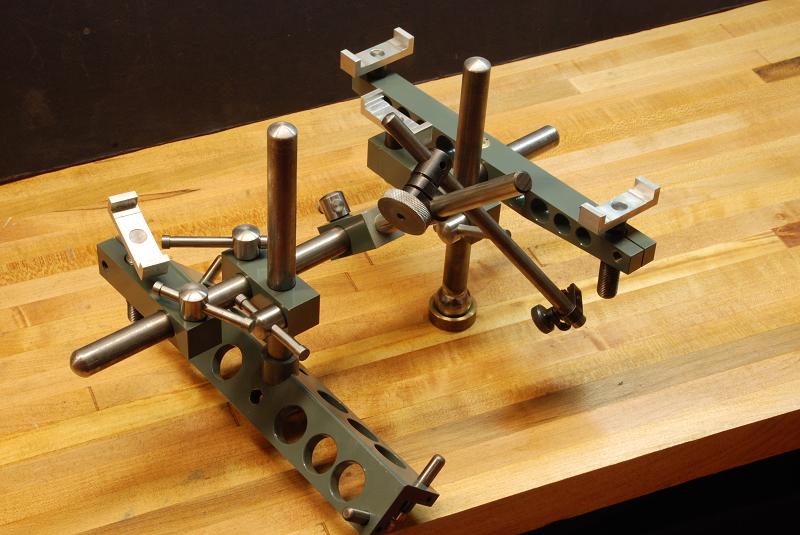
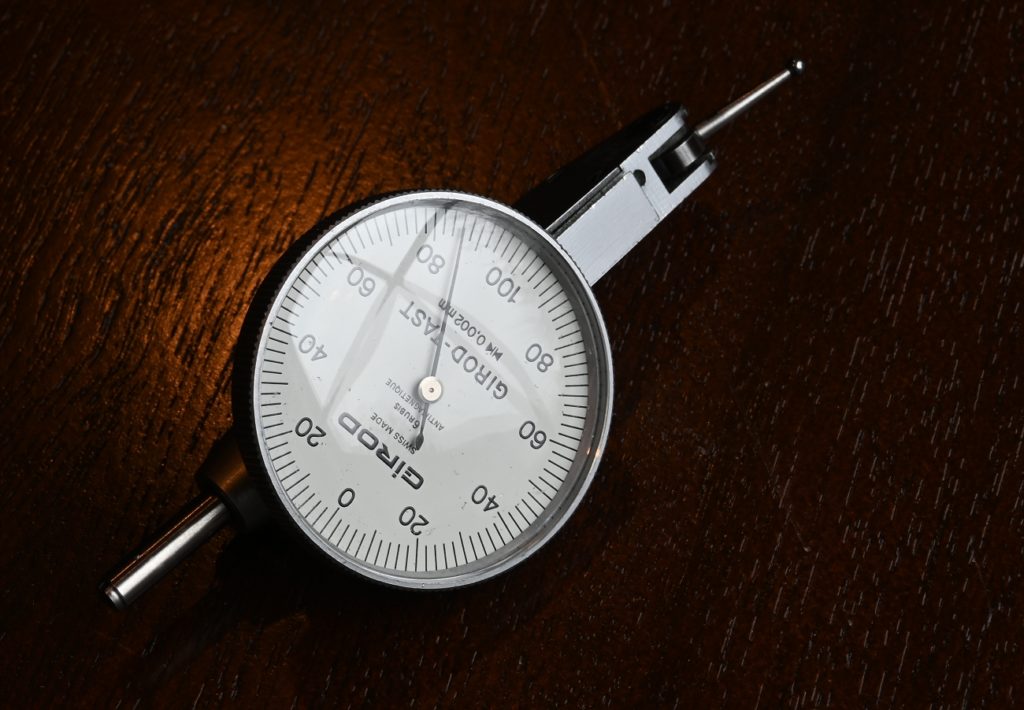
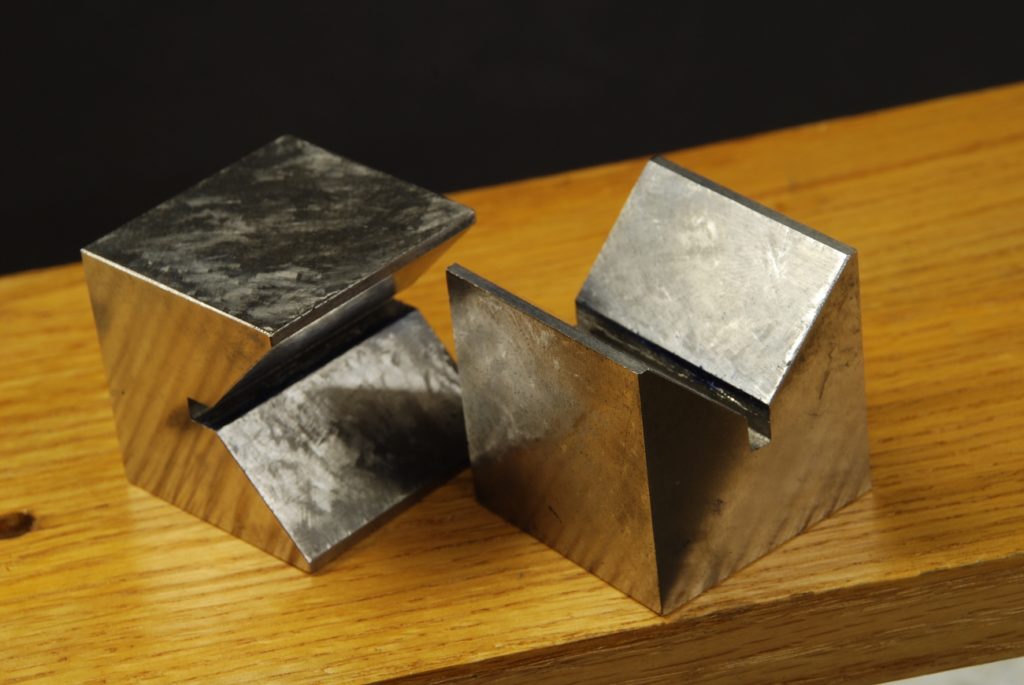
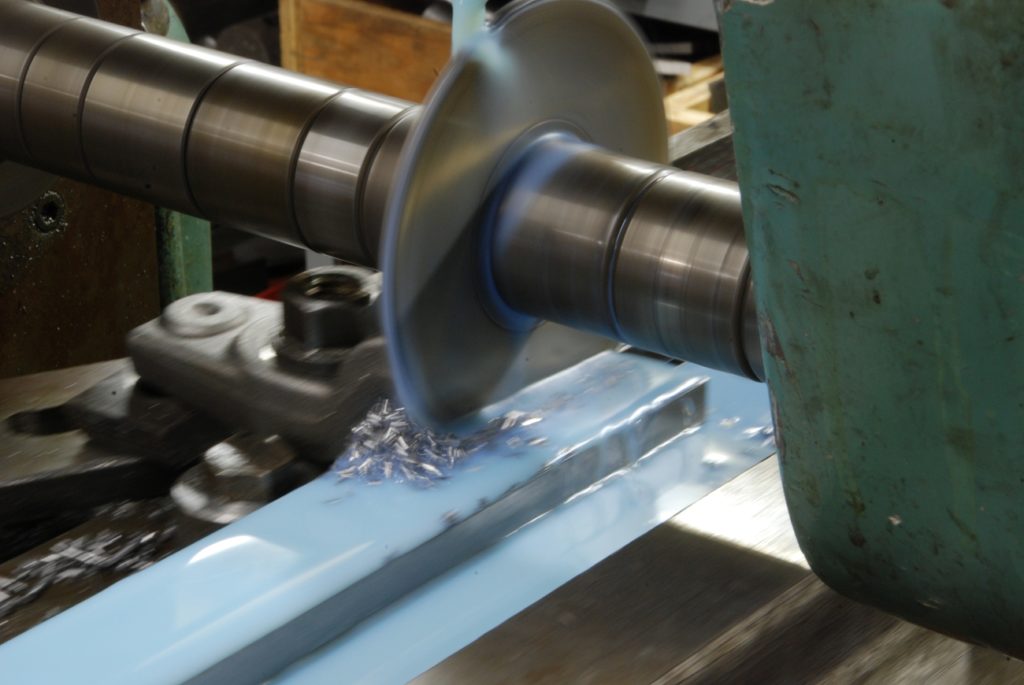
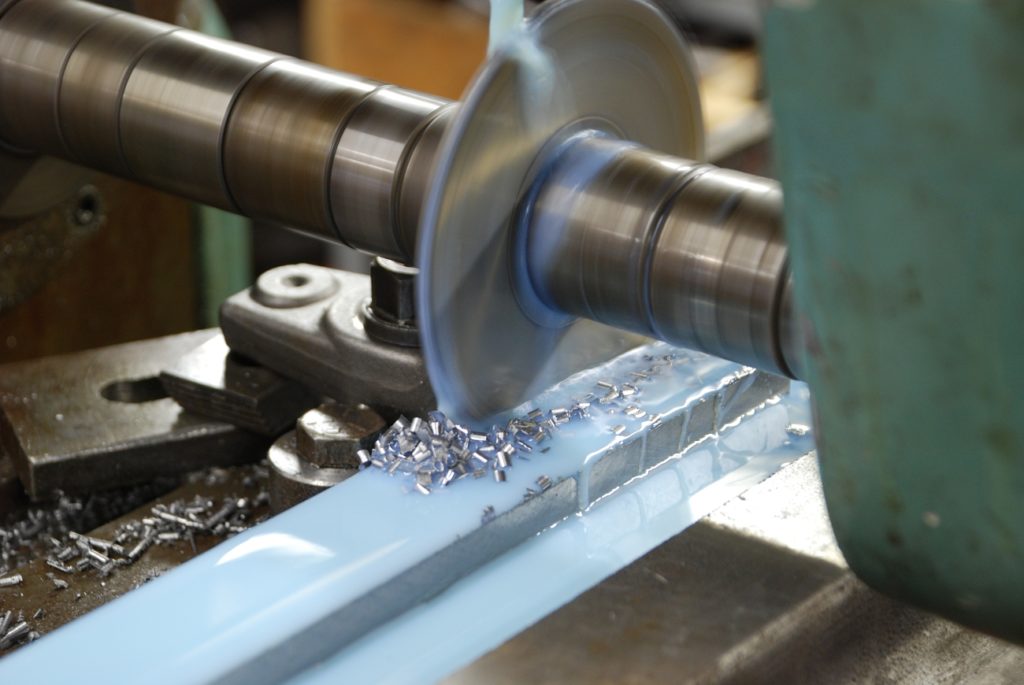
I do a lot of shop photography as I’ve written a lot of articles.  The quality of the article is in large part determined by the quality of the photos, so I work at it.  I’ll do another bit on shop photography perhaps.  Anyway, the great boon to any aspiring photographer was the emergence of digital photography.   I once read, but can’t remember the source, “what’s the difference between the amatuer photographer and the professional:  1000’s of photographs”.

A new gib for the DSG. A simple stained oak board and sheet of black cardboard are used to create a simple composition with lots of contrast

My workshop photography  started with a Nikon coolpix; – a moderately priced point and shoot. It offers the almost life changing possibility of taking 100’s, 1000’s of shots just to see how they turned out.

Its a good little camera and still a preference for travel. Light and small with a fair bit of control.

Of course what it missed, was that through the lens view and ability to manually focus

My old Nikkormat, bought used as a teenager, is superior to the (more) modern point and shoot shown to the right in every way except one: the cost of taking a picture.

What freedom it brought not having to think about the high cost of developing a roll of film! In days gone by I did dark room work, tried top get good at colour printing, made contact strips etc – not for a love of darkroom work (well, it was ok to an extent but less than thrilling) but as a way to take pictures at a low cost.

So I loved the emergence of digital cameras!

I read one the different between an amateur and professional photography is essentially thousands of photographs. Experience.

There is truth to that, however digital carries a dark side. Conserving valuable film and developing costs forced one to think about and plan exposures. You could just put things on rapid and walk around hoping for a winner. Learning was once imposed by economic necessity, now it perhaps requires a bit more discipline!

Goals

What we are trying to accomplish is simple: 

  • well lit, in focus images of workshop items, projects, tools etc. 
  • visually attractive photographs.  Its more enjoyable


the Two minute mandatory bit of theory

Two things to be aware of:  Exposure and Composition.  Exposure is amount of light and composition is whats in the shot. 

Exposure

Exposure is the amount of light reaching the camera sensor or in the olden days (lol) reaching the film.  Three things interact to determin the amount of light:

  • Exposure time (in seconds)
    • Long exposure lets in more light
    • Hand held shots need a shorter time, less than 1/60 of a second.
  • Aperture or F stop (a physical window in the lense whose size can be changed
    • low f stop = lets in more light (and creates a shorter depth of field)
    • high f stop lets in less light (and creates a long depth of field)
  • Sensitivity/ISO of the film or digital sensor
    • High ISO needs less light but produces a grainier image,  Low ISO = clearer but needs more light

Lastly, we need to understand depth of field.

Lorem ipsum dolor sit amet, consectetur adipiscing elit. Ut elit tellus, luctus nec ullamcorper mattis, pulvinar dapibus leo.

great depth of field

Incidentally, while it makes for a great demonstration of DOF, the above image wasn’t just a matter of a high F stop.  It was creating is a post processing technique called image stacking.  The distortion of the holes in the tool box handle give a hint that something is up!

Depth of field.

Have a look at the photo to the left and below.  This is the underside of my tool and cutter grinder table being scraped.

Notice how the photo to the left has a great depth of field, meaning a great of the distance from foreground to background is in focus.  Whereas with the one below, only the middle section of the table is in focus.

This is a difference in depth of field and is primarily controlled by aperture.  A high aperture lets in little light but gives great depth of field.  You can probably see where this is going – if you use a high aperture, you’ll slow down the shutter speed (expose it longer) and/or increase the ISO (make it more sensitive but also more grainy)

Limited DOF - only the centre is in focus

How to Use Depth of Field

First of all DOF is not linear.  With very close work (macro photography) depth of field can be a fraction of an inch whereas in the distance a hundred feet can be in focus. 

As our primary goal is to convey information (vs an artist approach), and we’re not shooting from a great distance, most of the time I maximize DOF by using as high an f stop as possible.  The perspective shot below of an indicator or the shot to the right installing a hand (on an indicating mic mechanism) are examples.  These close up shots would suffer without maximum depth of the field

Maximizing Depth of Field

Another way to get a lot of distance into focus is to use a
telephoto lens and move back from the subject an appropriate distance. 

In this case, shooting a wood fired pizza oven, we want everything crystal clear but could not use a high f stop because it would have made for a long exposure and the flames would end up blurry.

Get back and zoom in for maximum depth of field

This work is not mine but a friends, Darren Creighton, who helped us get some promotion shots for this product.  https://www.darrencreightonphotography.com/

Below shows where the camera was…….and to the right shows the shot

Just for kicks, here’s what we ended up with.   Darren’s idea, I thought brilliant, was to use the industrial plant as a background and show the staging, trying to the connect the heavy, high quality oven to its ironwork’s pedigree and be a little creative in the process.  The lighting was set so the background was underexposed

Exposure - Tying it Together

Our three levers, exposure, aperture and ISO sensitivity control the amount of light reaching the digital sensor.  Changing each as a secondary affect on exposure

  • Shutter time – hand held + too slow = shaky photos
  • Aperture – changes exposure but also depth of field
  • ISO sensitivity – changes amount light needed but also the amount of graininess present

The idea you balance three, usually with some sense of prioritization.  For example, and most common for my shots, I want to maximize DOF (high F stop) and get as clear photo as possible (low ISO).  That being that being the case, I then set those where I want them and change the shutting speed to end up of a reasonable exposure.

Which brings us to Rule 1:  Use a tripod!  Yes, use a tripod.  Why?  because we want low ISO and most often a high f stop so the only way to get a good exposure is a long shutter speed.  Times as high as 5, 10, 30 seconds – whatever it takes.  Obviously the camera cannot be held for these long periods without a tripod.  Also, use a shutter delay or remote shutter device to eliminate any chance of shake through pressing the camera button

With modern cameras, there are often settings letting you control say shutting speed and aperture while the camera will vary the ISO to suit.  This can be handy, but really, the best way is full manual.  You learn how the dynamics between the three work and get the control your want for great shots

Rule 2: Stash the Flash

Never ever ever use the on camera flash.  Horrible things happen.

As most of the exposure comes from the flash, and light intensity is the square of the distance, close elements get over exposed and farther away parts are underexposed.

With the light coming inline with the camera, harsh unnatural images result.

Flashes that can be point are slightly better.  For example, bounce the flash off the ceiling for less of a direct light look.  However the best approach is to use natural or room light.   Where flashes come into their own, and are a fantastic and creative tool, is with off flash applications (later)


Rule 2: Use a Tripod

This is the big one.  This simple step is 80-90% of the trick to getting better workshop photos.
 
Why?
 
Recall the photography trinity – exposure, aperture and sensitivity (ISO).  We know they must in the right combination for a good exposure
 
AND
 
We don’t want to use a flash.
 
We want maximize sensitivity (ISO) and very often want to minimize the aperture (greatest depth of field).  If we don’t want to add light (via flash), the only way then to get a correct exposure is to change the time the shutter is open.  Maximum ISO needs the most light, and highest f stock (smallest aperture) lets in the least light, so we must increase the shutter time in response. 
 
To what ever it takes.  Anything longer than 1/60 of a second means you’re likely to get shake if the camera is hand held…so clearly we can hold the camera by hand if “whatever it takes” means 20 seconds.
 
In summary, to not use a flash, get high sensitivity and depth of field means using shutter speeds far to slow for a hand held camera.  Ergo, us a tripod!

(mostly) Obey the Rule of Thirds!

Mostly because our primary object is conveying information not artistic composition, however the rule of thirds is “the”  basic and pervasive rule photographic composition it should be always kept in mind.

The idea is that for some reason, photos (and movie shots) are generally more pleasing when the main subject, what your eye is drawn to, is along a line about 1/3 of height or width of the photo. Subjects at the intersection of the lines really work well.

To the right, the focal point is the flame an hot steel which is about 1/3 from the right and 1/3 from the bottom. It just works a lot better than if everything is centred.

The rule can be broken with there great between left and right. The shot of nut drives above is simple and has balance, but I’d argue it also works because the focal is the darker socket ends which at about the 1/3 line from the top.

The use of “about” is intentional; its not a hard and fast rule and some deviation can work. Also, a workshop photo is often intended to to convey information rather than being visually attractive. Many times I’ll snap away and be oblivious to the rule; while I’m trying to capture and show some detail. All this is fine, the sun will still come up, however it is a very valuable composition technique to learn and experiment with. If we can make our shop photos convey the necessary information and look attractive, its all the better.

To give an example, have a look at the spring photos. One is centred and the other cropped to be along a 1/3 line. Which is more pleasing? I don’t know the psychology, however most find the offset one to the left more pleasing…hence the majority photographers and cinematographers use it the majority of the time. 

Use Natural Light

The parallel rays from the sun are a photographers stock in trade.  A friend who is a very accomplished photographer will spend a weekend driving around getting ideas for a great shot.  Then with the alarm set at 4:00 a.m., he’s off to set up and catch the light just how he envisioned the great shot hes after.  Like so many thing in life where we admire and ooh and aah over the results, what underpins it is planning, hard work and commitment.
 
We can learn from that; just how important natural light can be and borrow from it in our own shops. The low angle light coming in the morning is often best vs the overhead midday light.  See where the light hits in your shop and try placing items to catch a bit of it

The shot to the left is of a set of model size hex drives I made and did as an article.  Home Shop Machinist magazine currently has this as their home page image.

Its just a collection of interesting shapes on the bench (drivers and parts for a hit and miss model).  It works because of the natural coming through the window creating lots of contrast and definition.

Light Painting

This is a fun idea that is hard to get perfect but sometimes you get some success.  Basically turn the lights down in the room, use a long exposure, and “paint” the subject with a flash light or other portable light source.  Set  your white balance with the flash light and keep trying until you get something fun


Other Composition Ideas

Whats in the shot.

This is where you get to have fun and try different ideas.  Some motion, high contrast, droplets of coolant, flames and sparks and so on are all things to try to creating action, colour, contrast interest and texture.

Off Camera Flash

All the forgoing gives you what you need to get fantastic workshop photos.  If you want to keep going a bit, and open a door a new world of creativity, its there with off camera flashes and strobes.
 

In a nutshell, by taking the flash off the camera, and possibly adding more than one, the negative effect of the inline lighting goes away. 

Its also very useful in creating different exposures between the subject and background


Lorem ipsum dolor sit amet, consectetur adipiscing elit. Ut elit tellus, luctus nec ullamcorper mattis, pulvinar dapibus leo.

A key aspect of off camera flash work is amount of light each flash outputs can be controlled.  You can turn the flash up and down.

This gives rise to lots of possibilities.  The flash can be turned down to just fill in some light at a certain angle or cranked to be the main source of light for the exposure.


The Background

Cleaning up the background can make a big difference.

An easy way are sheets of black foam board.

I also use old drawings for a white backdrop or underneath the item or blue bench mats.  Anything that gives a plain, solid colour can work to emphasis the subject and declutter the shot

Another approach is to use an object as a backdrop.

Here I’m using a wood machinists tool box as a backdrop.  It works in my opinion because the wood is a nice contrast with the metal, brings some warmth and they are also considered an attractive item by those of us in the machine shop.

To get this shot I concentrated light on the lathe so it ends up exposed and the tool box ends up underexposed making a background vs competing with the subject.

Put Some Wood the Background

Another example  is using a butcher block bench or piece of wood.  The warm contrast it creates ads to the composition of the photo

Blur the Backround

The shot below looks like crap.   The boxes and shelves behind make it too busy and cluttered which takes away from the subject.

The solution?  Use a lower F stop to reduce depth of field and come in a little closer.  The background quite out of focus and stops, or reduces it competing with the subject

The Hardware

I started with a Nikon Coolpix, a “point and shoot” format of camera.  Its very frustrating as you can’t control focus however many articles were written using and it does produce reasonably good images.  I stilled used the same techniques noted above; no tripod and no flash.  Many I would take dozens of photos moving the camera ever so slightly trying nudge where its autofocus settle on to get the results I wanted.


Nikon D80

A significant step up was the purchase of a Nikon D80, my first Digital SLR.  If you’re not familiar, SLR is an acronym for single lens reflex.  What that means is, in the path the light between the lens an the sensor (where the film would have been once upon a time), there is a mirror.  This mirror diverts the light from going to the sensor to instead going to the eye piece so when you are setting up shot, focusing etc, you looking through the lens so get an accurate view of what the photo will be.

While there are some other formats, the SLR represents the overwhelming majority of better cameras sold over the last say 60 years, at least in format (Larger negative sizes of large format cameras are superior but are not really practical for most every quite serious amateurs).  As well as the SLR functionality, these cameras are characterized by having higher quality removable lenses which can be manually focused (unlike the point and shoot)

An advantage for me was that my small collection of quality Nikkor lenses (from the film days) fit the D80. 

Nikon Negatives

Nikon Negatives

It used be the only negative with a Nikon was what you’d get in the dark room.  However I think has been a quality degradation that it is a little disappointing.   

The first gripe is this notion of  “kit lenses” or that Nikon sells new cameras with really cheap lens in an attempt to entice buyers with a low package price on a camera and lens.   The lens still carry the “Nikkor” brand, was as result is suffers quite a bit of damage.  I find that subterfuge a bit greasy and my protest (and way to save a bit of money)

While I took and had published a lot of photos with the Nikon D80 Digital, it didn’t last.  Which is the second complaint:  low starts of construction quality.  The darn thing just stopped working.

The Move to Mirror Less

With a dead D80 (grrrr), time for another camera.  I was fairly PO’d at Nikon (they used to make mechanisms that lasted forever and now they have plastic gears the fail) but I’ve got a bunch of lenses so had some lock in.

Also, in entering the camera market in the early 2020’s, it seems clear the future is mirror-less.   It is superior especially in that it lets the camera operate as a high video camera as well.  However I didn’t buy it because its newer slightly better technology, I bought it because the old one broke and that it seems so much the future that it didn’t make sense to go with the reflex style with a mirror.

Given how much I use the camera I splurged went it a Nikon Z6II was so far has been very good