This is about the easiest possible lathe bed to scrape. It’s the brilliance of the Schaublin design – there are just two surfaces square to each other. That’s it!
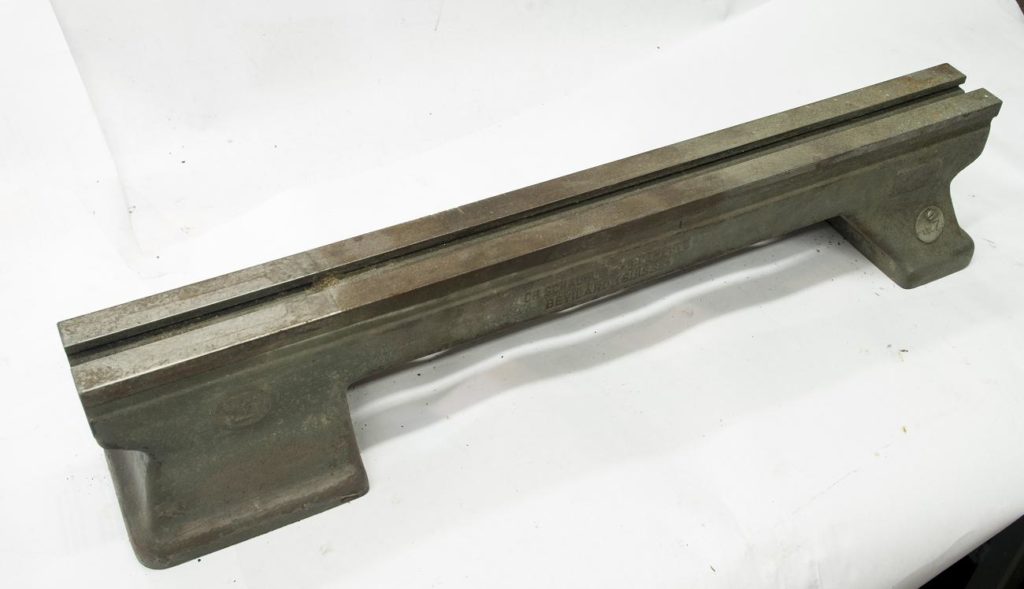
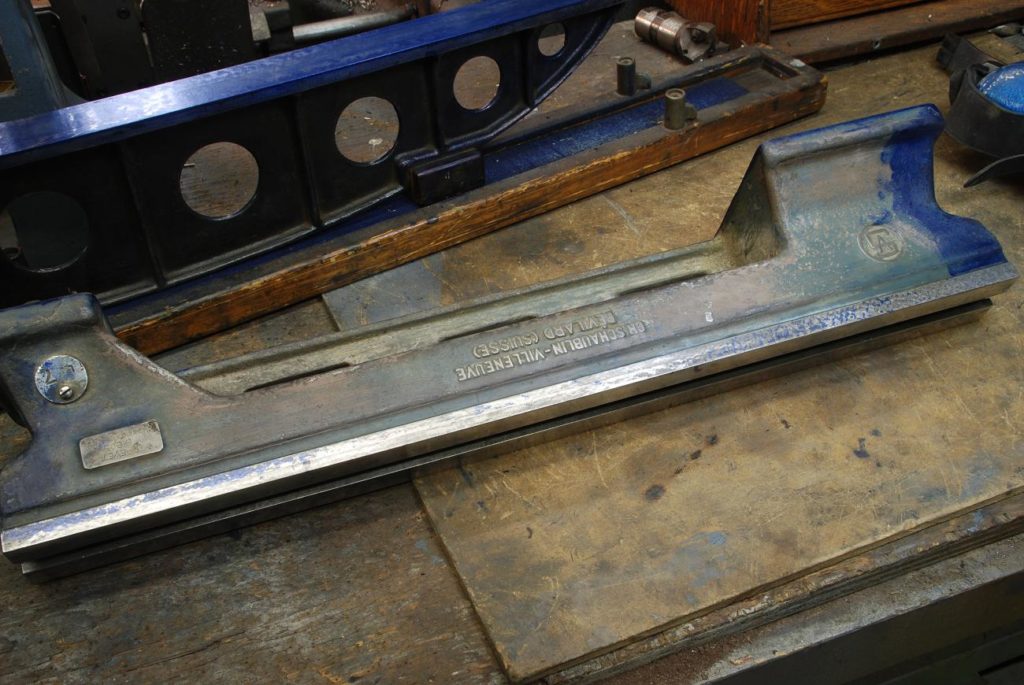
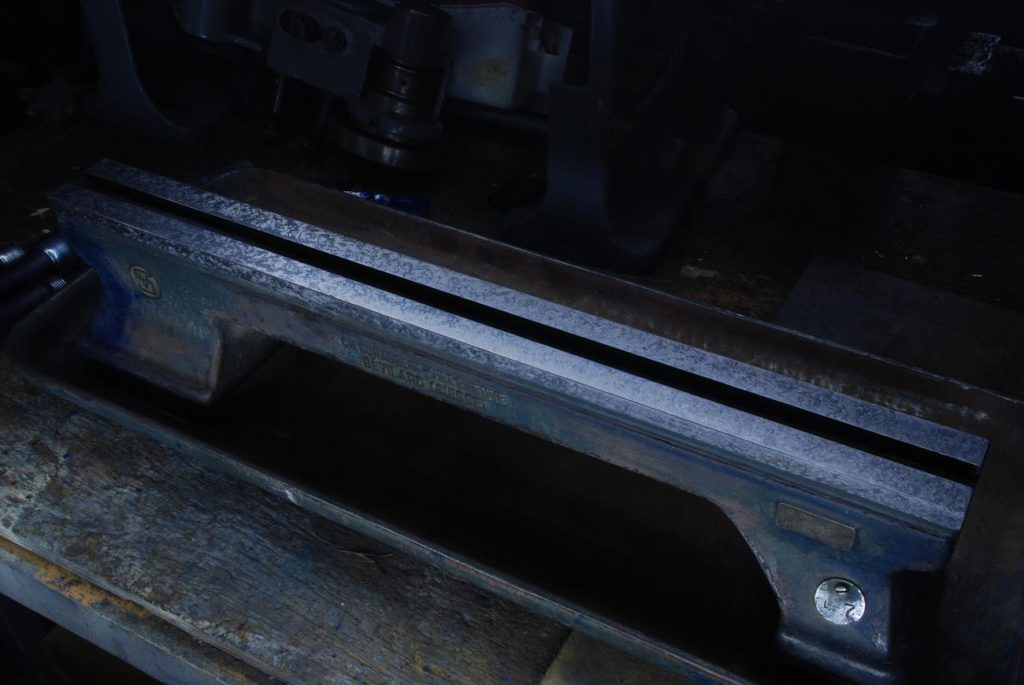
The bed as it arrived is worn and has some rust, definitely needs some TLC
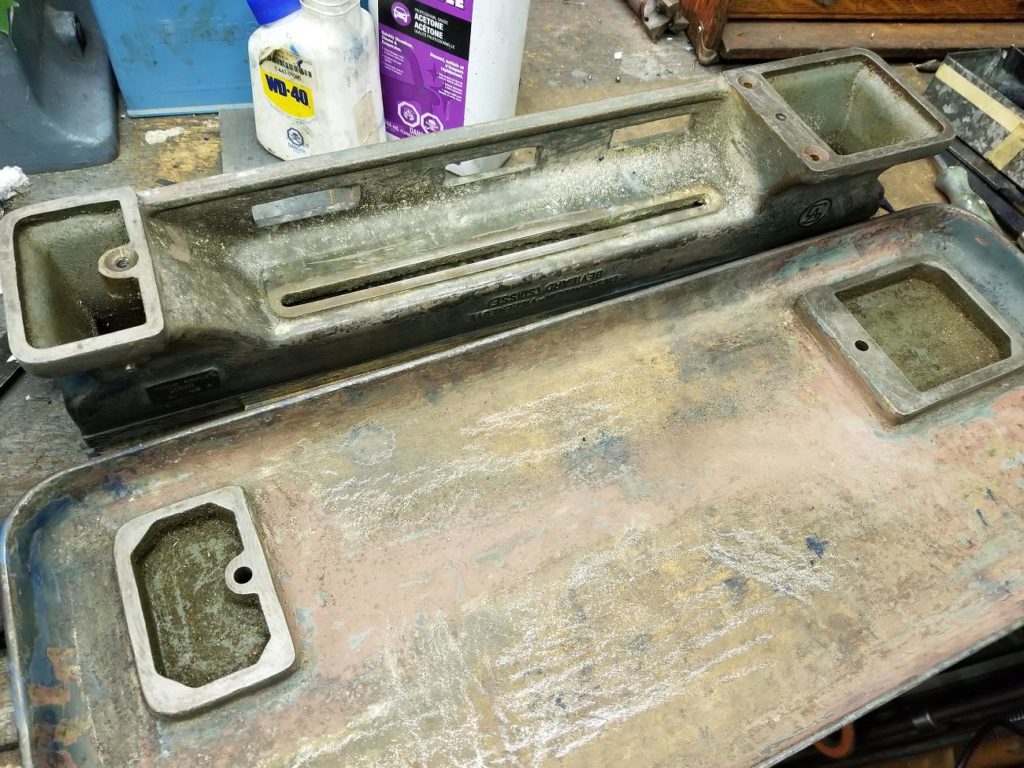
The 70 has a nice heavy tray that it bolts to. The tray has three feet so when its placed on a bench, the evenness of that surface doesn’t induce any twist. Common practice with setting up a lathe is to level them – just means using a very precise level (0.0005″ per foot) to make sure no twist is present (they will twist under their own weight when placed on an uneven surface.
The three points of contact approach avoids that. On the underside of the bed are usually three semi hemispherical pads that contact the tray – again creating a mount that induces no twist.
Those pads were missing and rather than make them I thought it more expeditious to just scrape the bed to the tray.
Scraping the Bed
The bed as it arrived is worn and has some rust, definitely needs some TLC.
Fortunately, this is about the easiest possible lathe bed to scrape. It’s the brilliance of the Schaublin design – there are just two surfaces square to each other. That’s it!
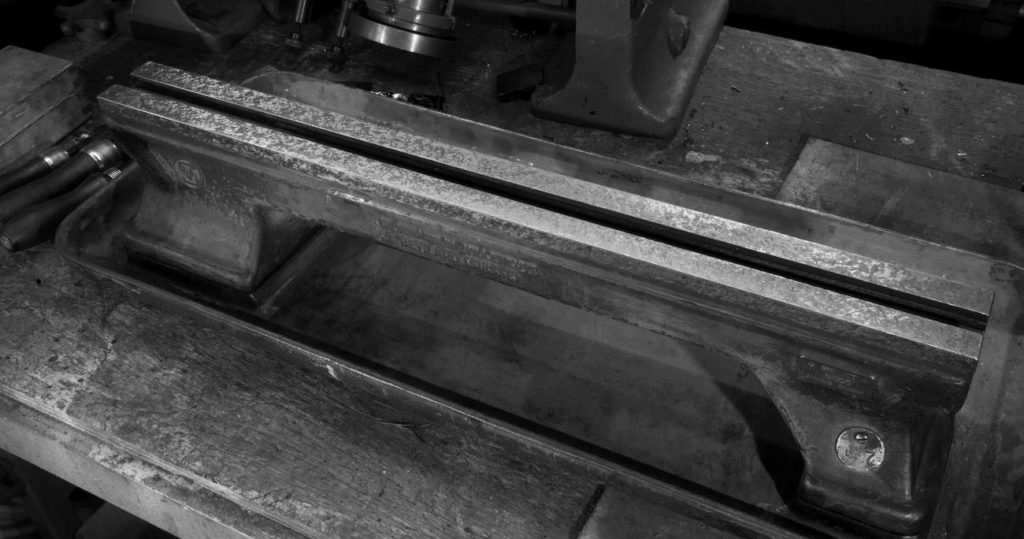
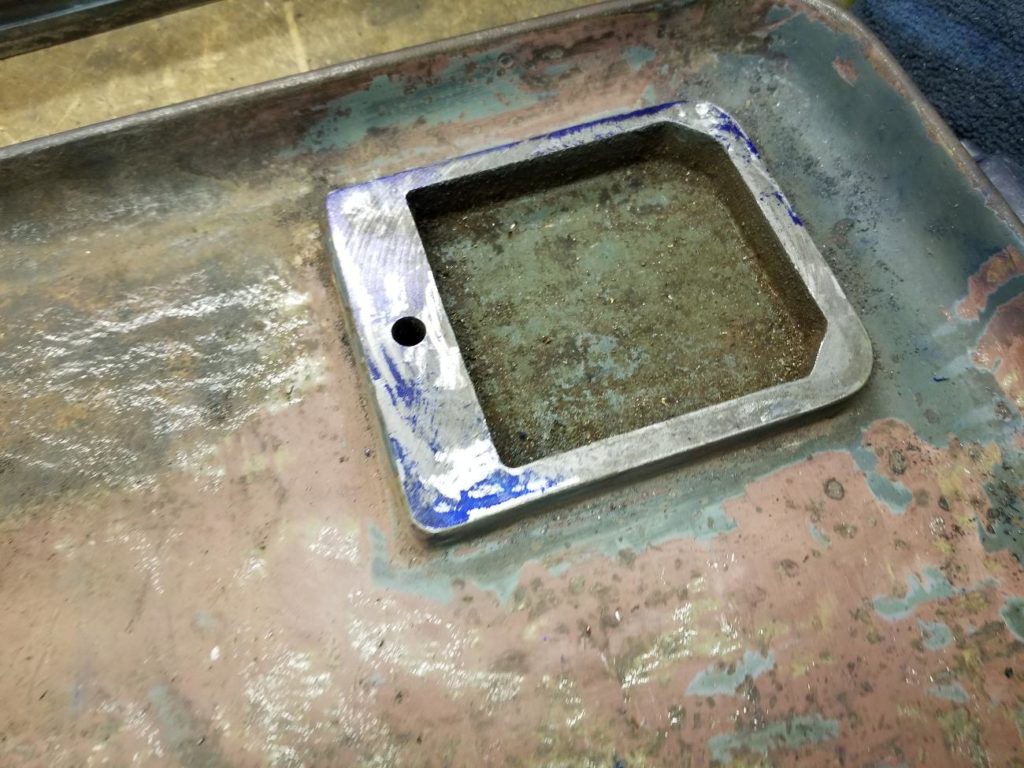
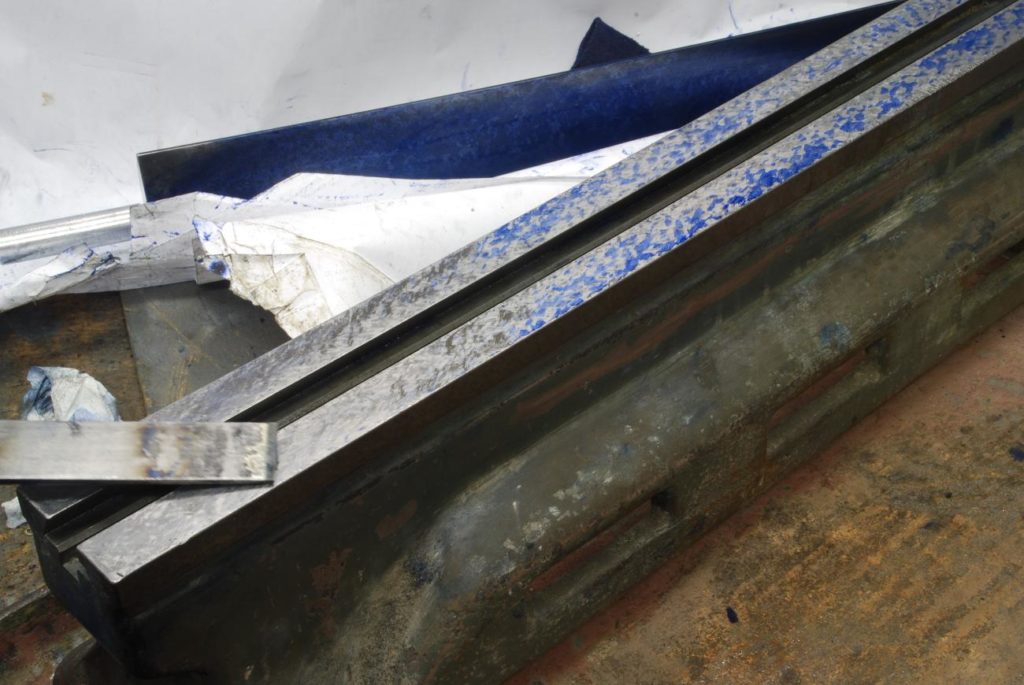
The reference flat is covered with blue
and its placed on bed. A little back and forth and its removed to reveal the print
A fairly typical print. The area under the headstock is pristine, lots of wear in the middle with much less wear on the extreme of the tailstock end. Most machining gets done up in front of the headstock.
Scraping is done with a combination of hand (homemade) and power scrapers (Biax).
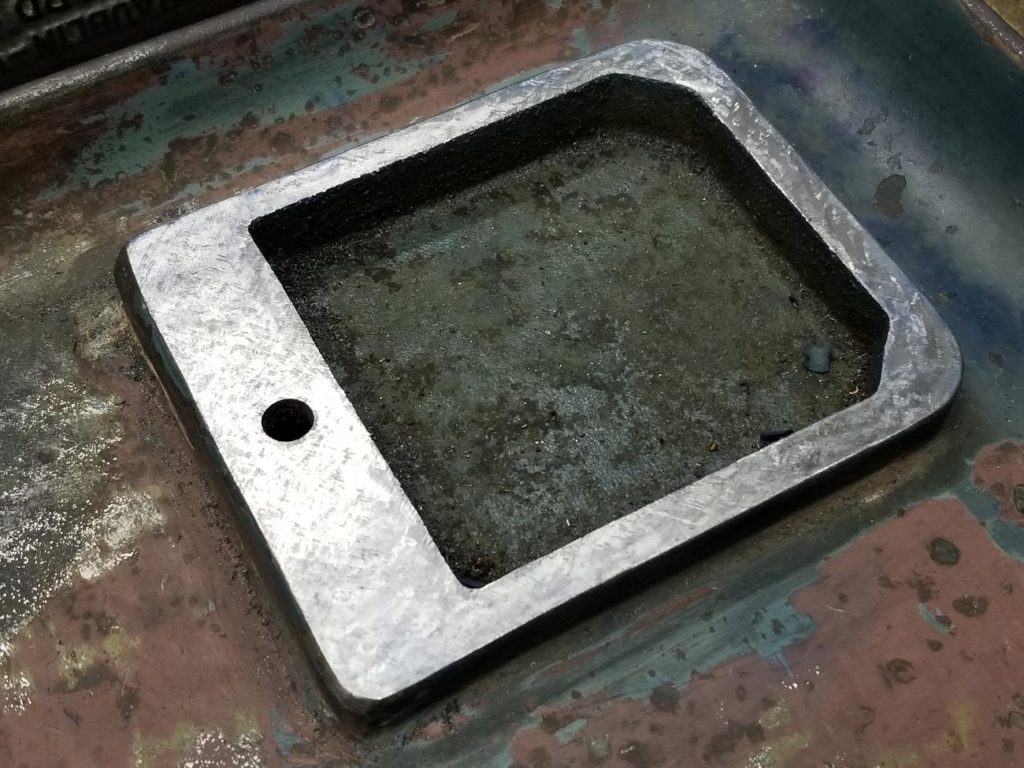
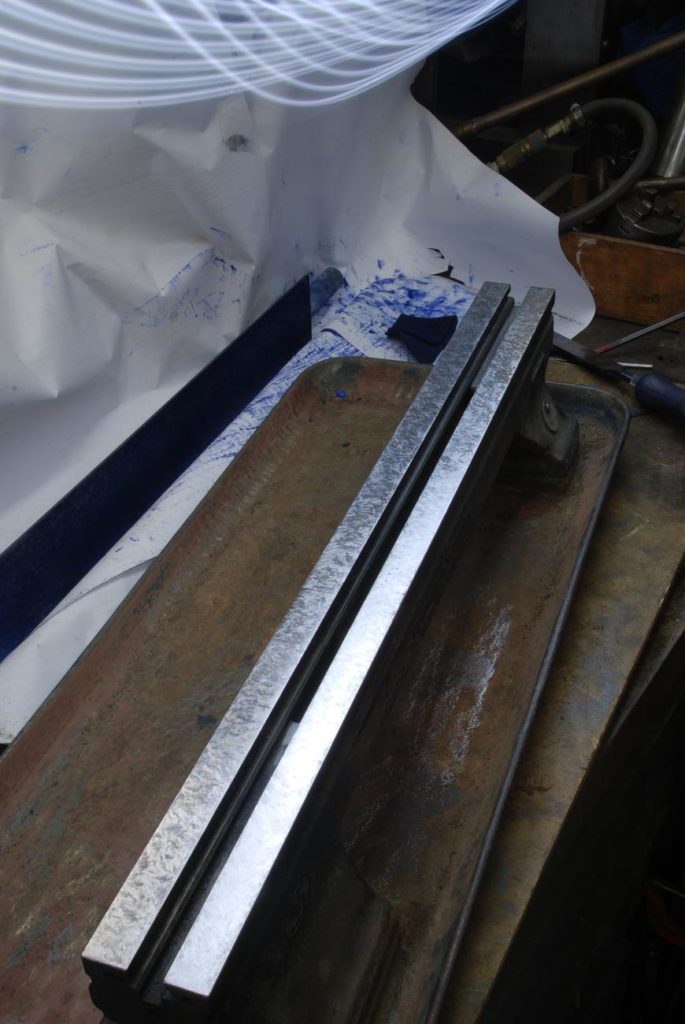
Eventually, after a few days of iterations, you get complete coverage of a sufficient density (# of contacts per sq inch)
The marvelous finish of a scraped surface doesn’t get old. The slightly different angles of each scrape mark make it almost glitter as you change your angle of view. What looks like a rough, facet surface to the touch is a smooth as the proverbial baby’s bottom
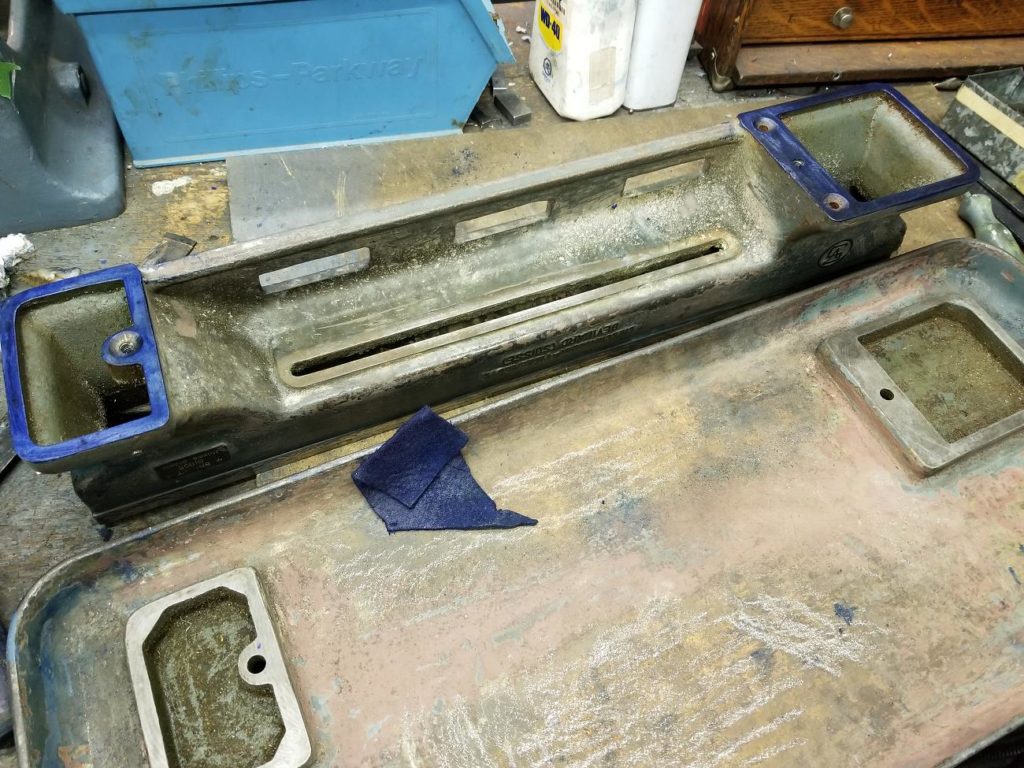
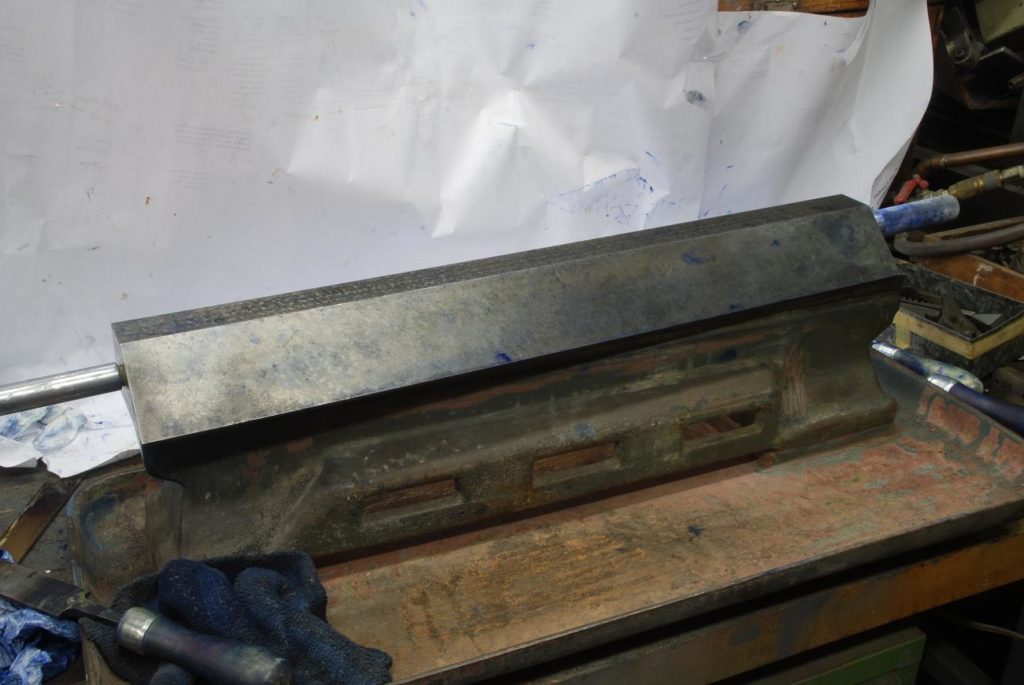
Next we have to scrape the front edge. This surface was quite worn
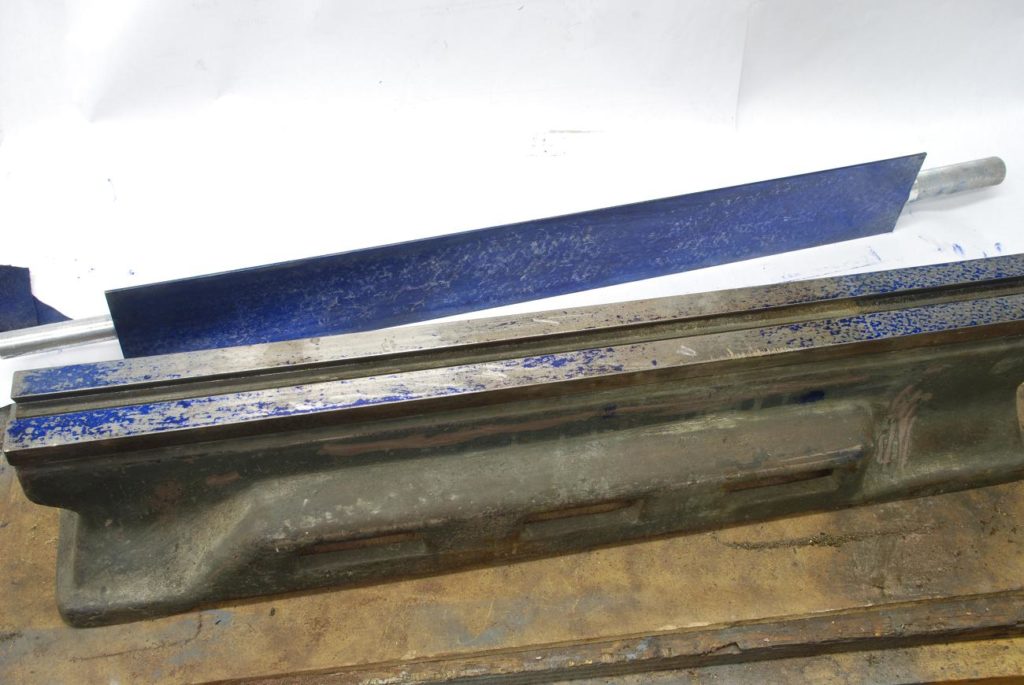
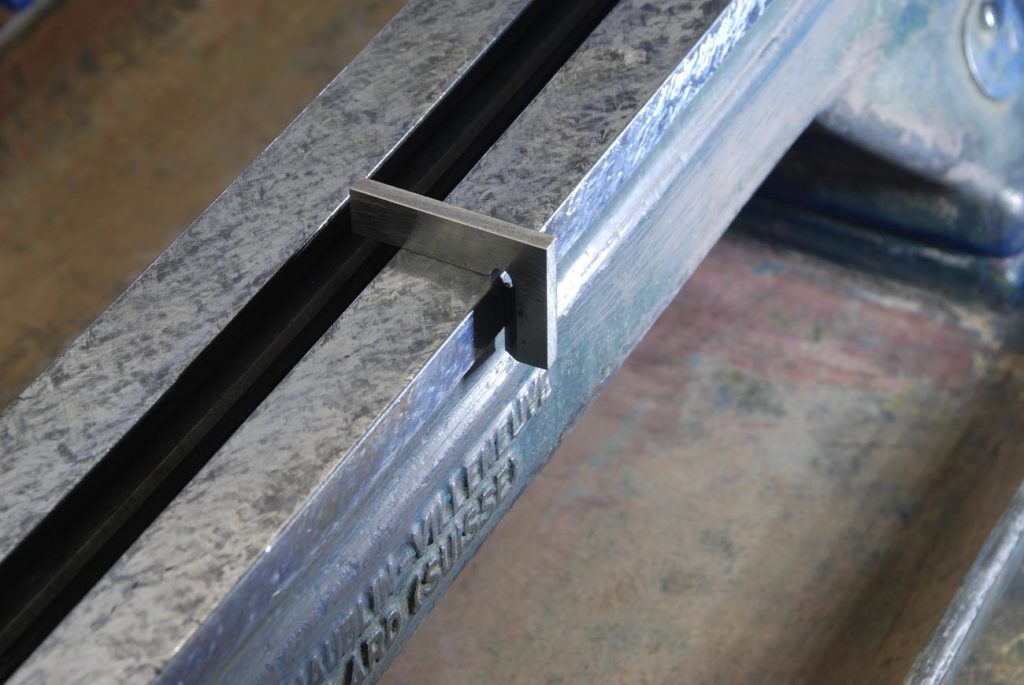
A narrower reference is used, a tool called a camel back
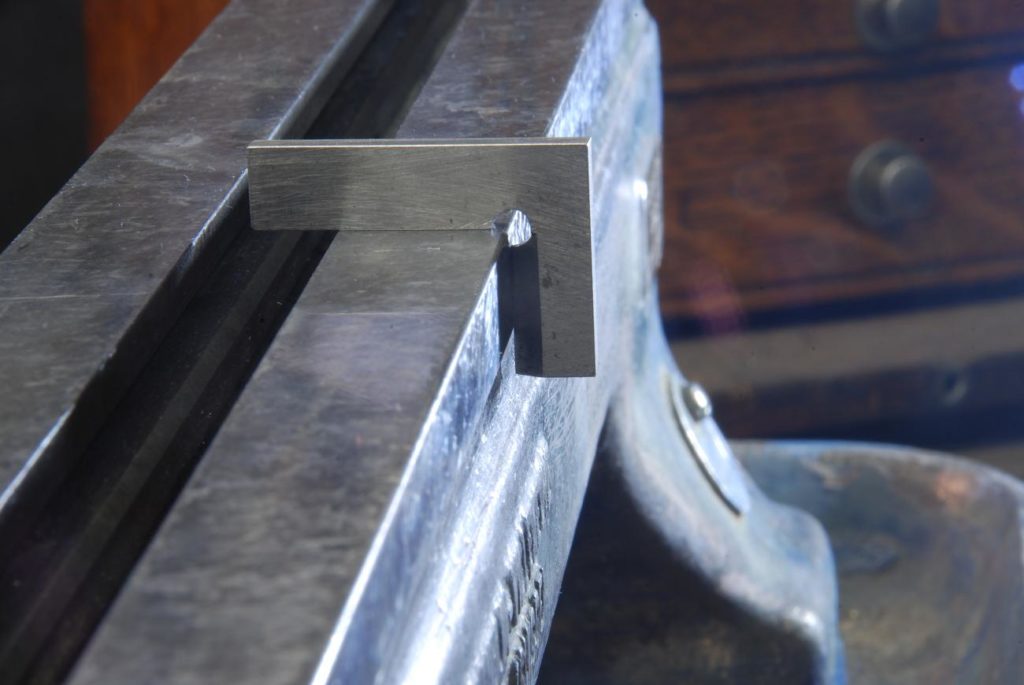
When scraping the top, we only think about flatness. Now with this surface it has to scraped flat as well as square to the top
This is done by scraping for flat, but also constantly checking with a square its relationship to top. You concentrate your scraping efforts to bring the surface simultaneously to a state of flatness and squareness.
With precision square, the smallest line of light equates to about a tenth of thou gap…when you get black out between square and work you are good to go