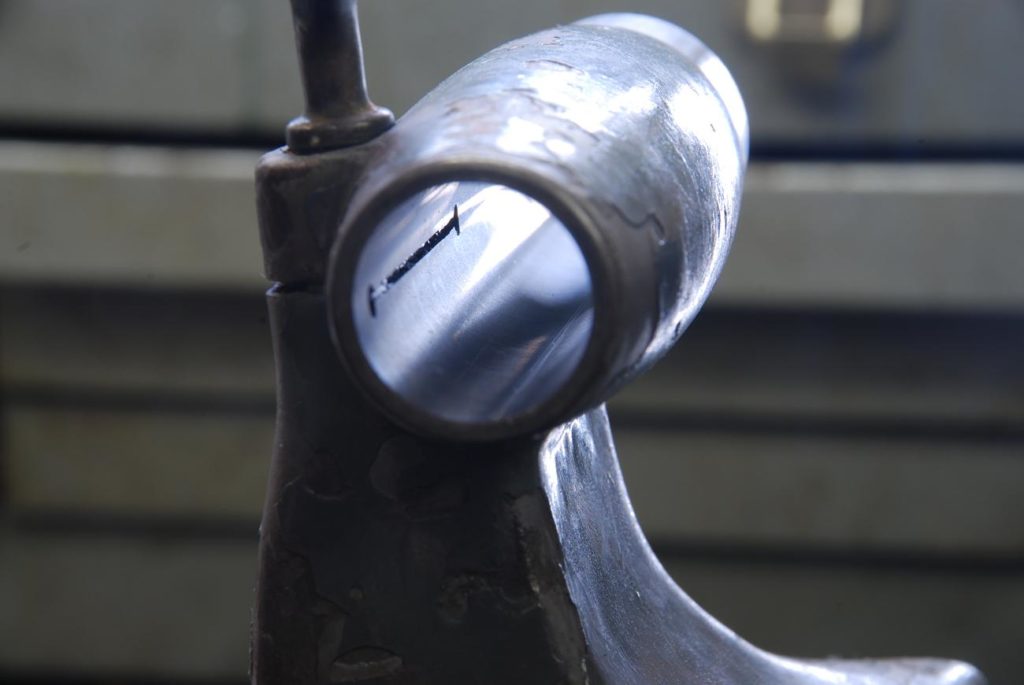
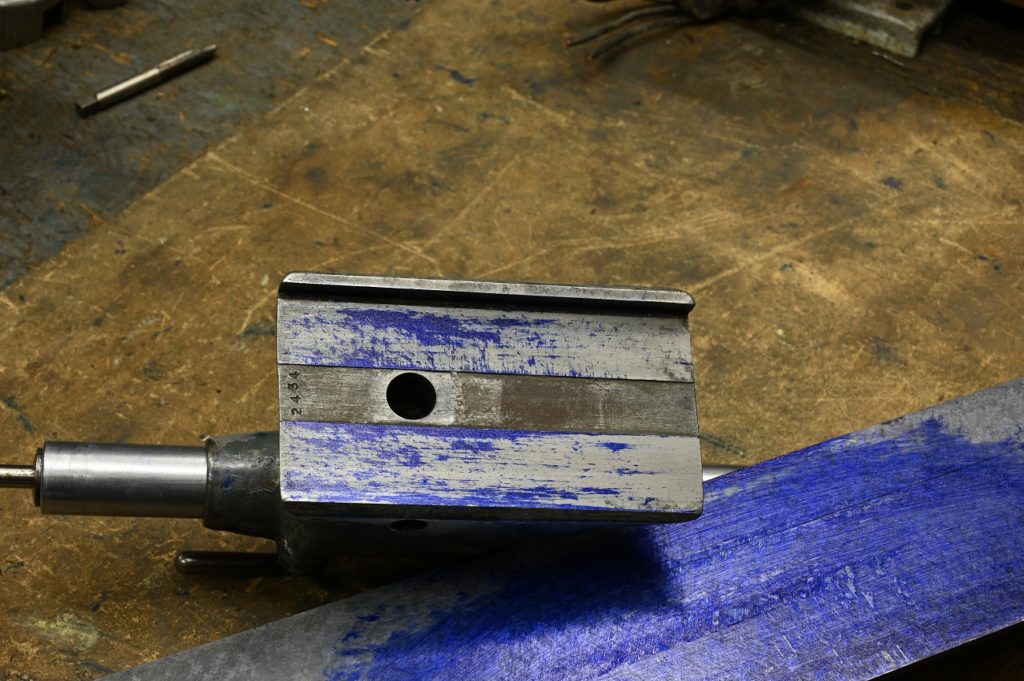
The tailstocks brings forth some new challenges. What we want is a very close fitting round and straight quill in a round and straight bore
The approach will be
1) correct the tailstock bore
2) grind the quill to create a clean surface
3) have the quill hard chrome plated to building up its OD
4) grind the quill
5) lap to final size and finish – .0002 – .0003″ clearance
6) scrape the base for alignment of the quill – parallel to the bed in two planes
The tailstock bore can be corrected by lapping or using a Sunnen hone. I have a Sunnen hone owever never seem to have the right size mandrel and they are so ridiculously expensive I usually end up making a lap. Those inexpensive hardware store spring-loaded homes are not at all comparable to the function of a Sunnen hone or lapping and should definitely not be considered for precision processes like this
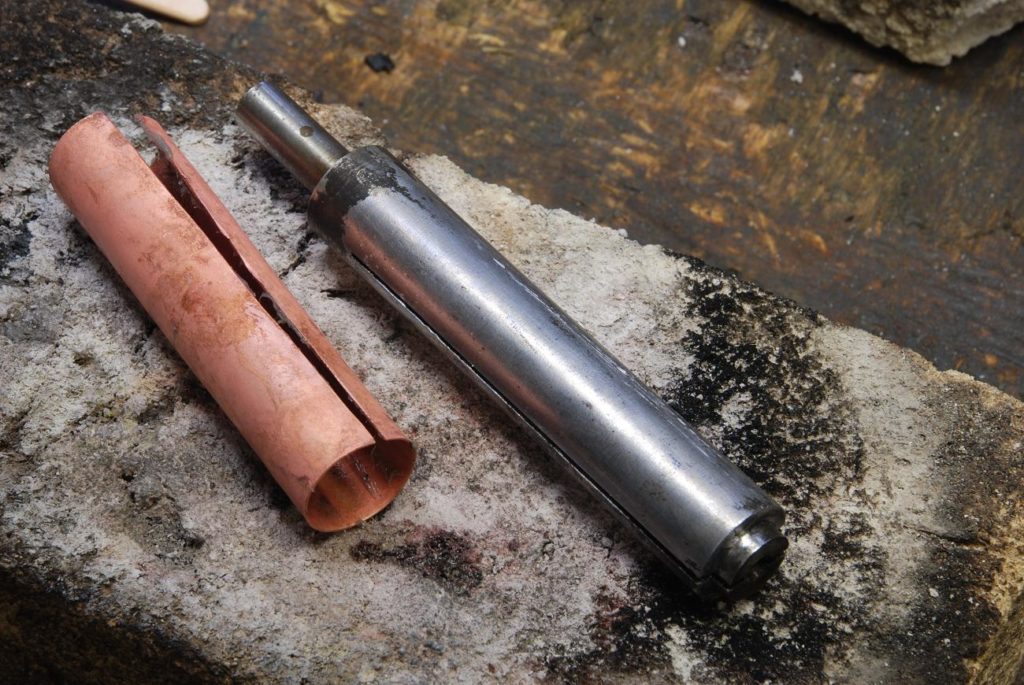
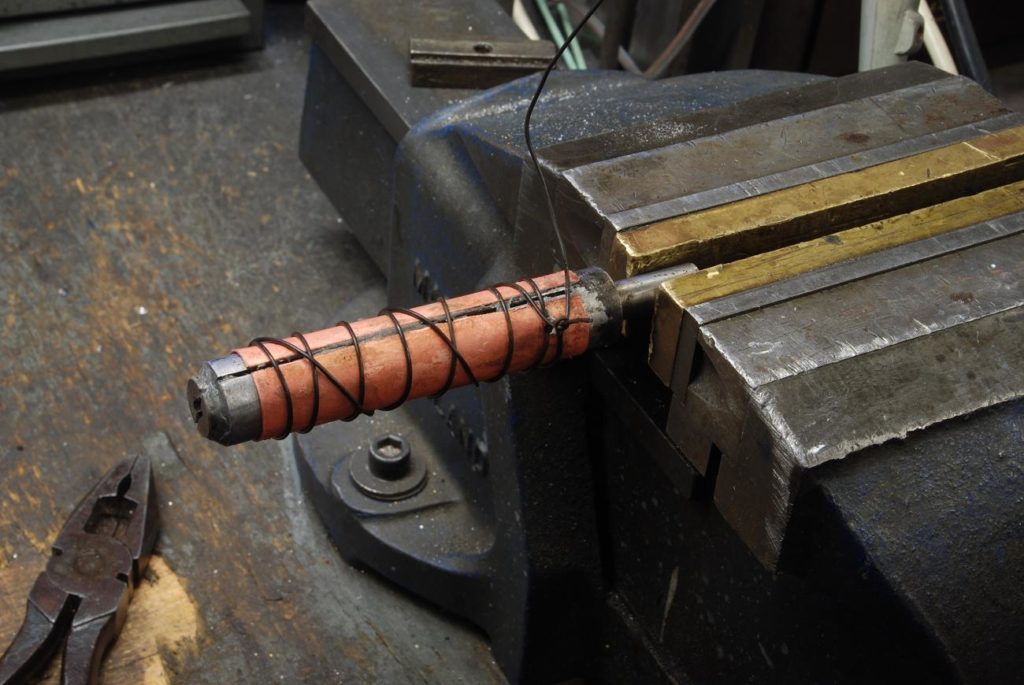
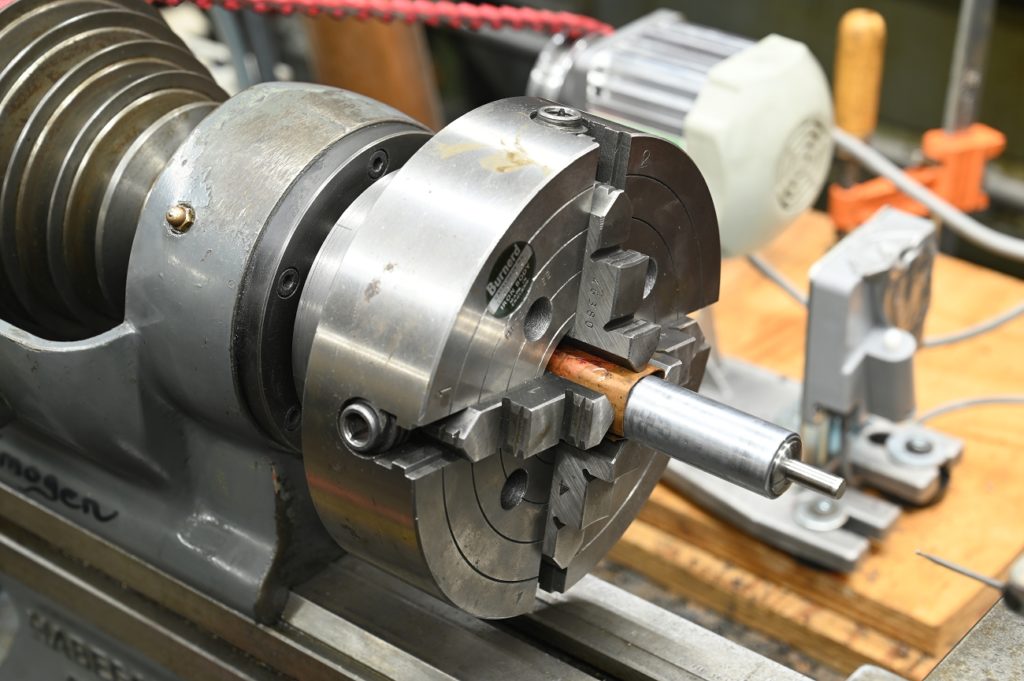
So much of what true tracks a project are the Seemingly endless sidetrips to make tools to complete the task. Here I’m starting construction of the home by slitting a turn round bar
I was impressed at how straight the saw is cutting!
Steel mandrel is tend with soft solder
Lots of flux is applied and the copper ( about .025″ roof flashing) is set up with binding wire
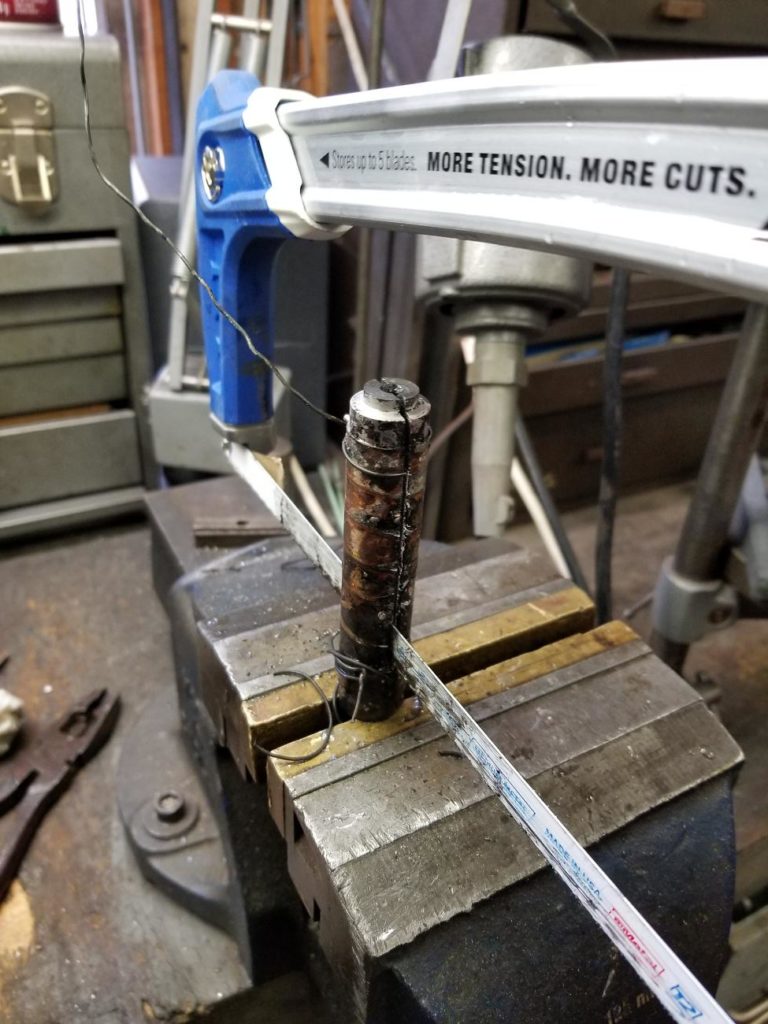
P
Soft soldering supplied and a hacksaw is run down to the wires. There’s a small ring naked soldered on the end which is done now
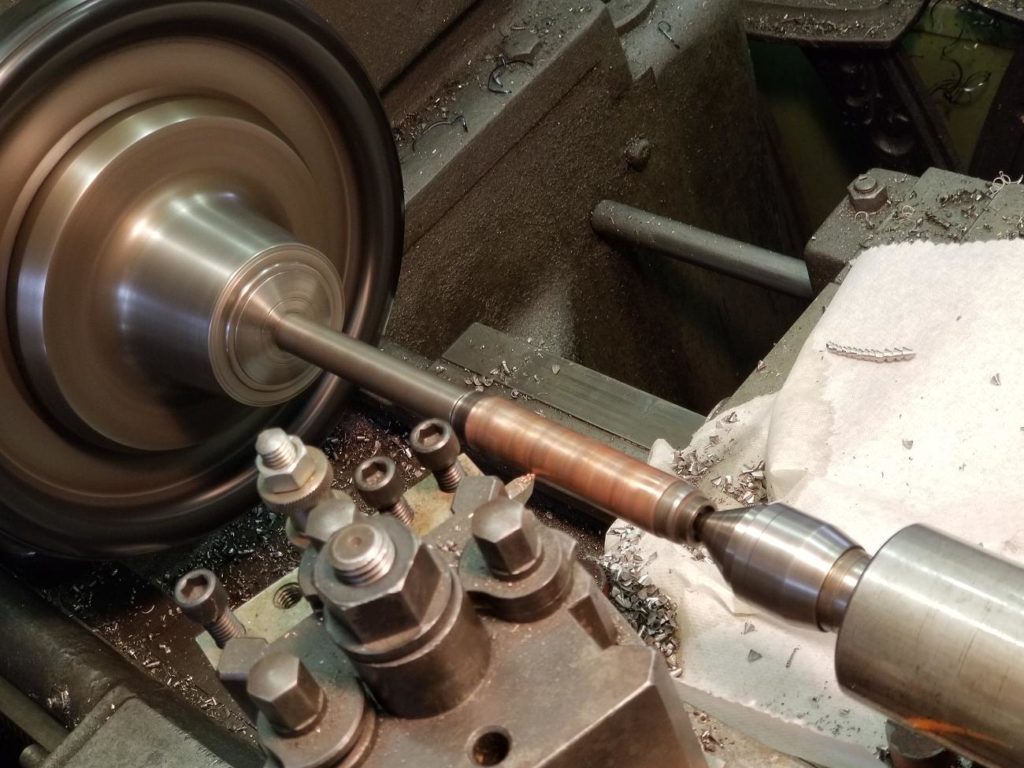
Drill and tap a fine thread hole for a set screw to expand the lap
Turn the lap to the ID of the bore
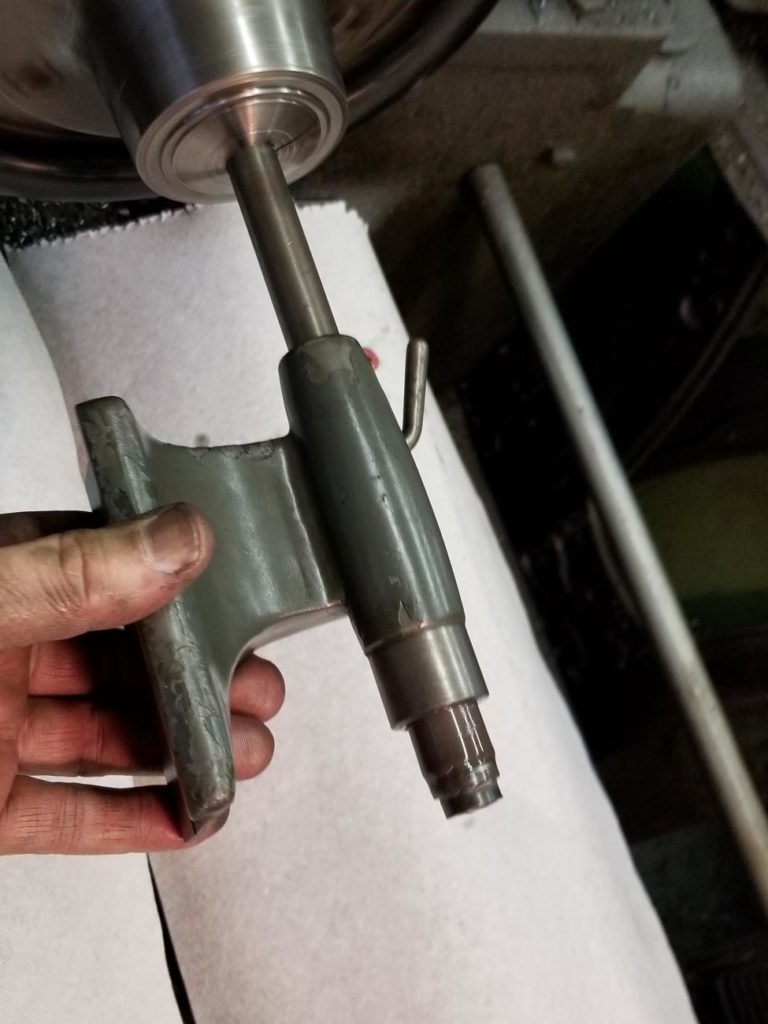
Lapping is done with a fine grit (600-1000) with the lap held in the lathe and the tailstock held by hand. it is crucial that either the lap where the work be allowed to float.
the work is moved over the lap and every so often the lap is expanded by the tiniest possible amount.
Most other forms of lapping are done with charge to lap which is a precision cutting tool. Cylindrical lapping is the exception where it loose abrasive is the norm as the nature of one cylinder passing over another will allow them to self correct. In other words with a delicate touch looking for a consistent tightness from end to end, both to lap in the work will be very around a very straight at the end of the process.
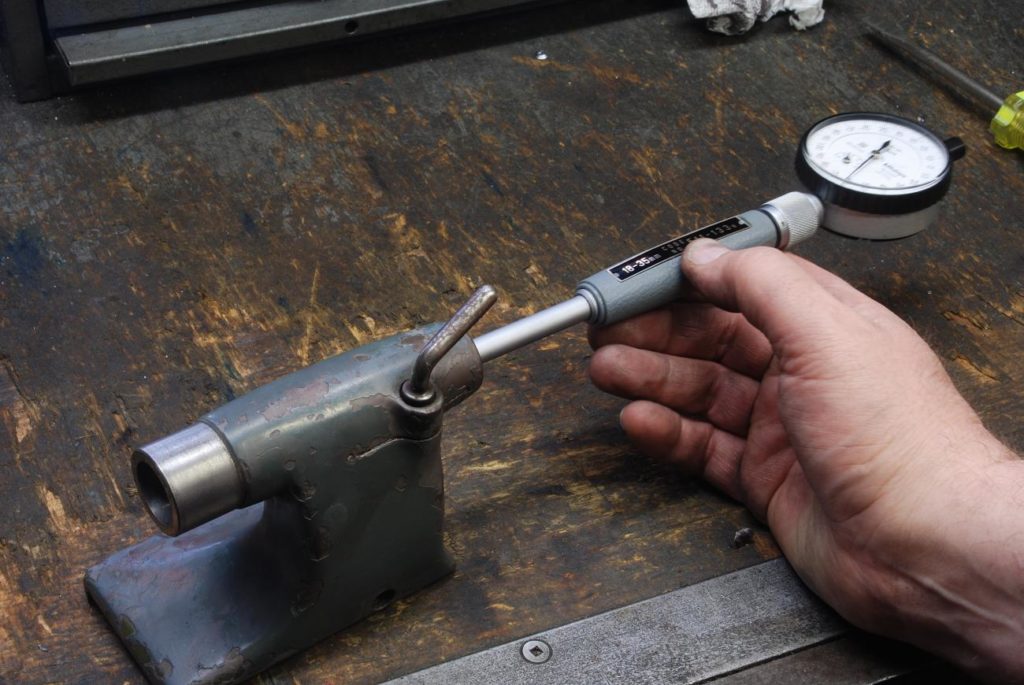
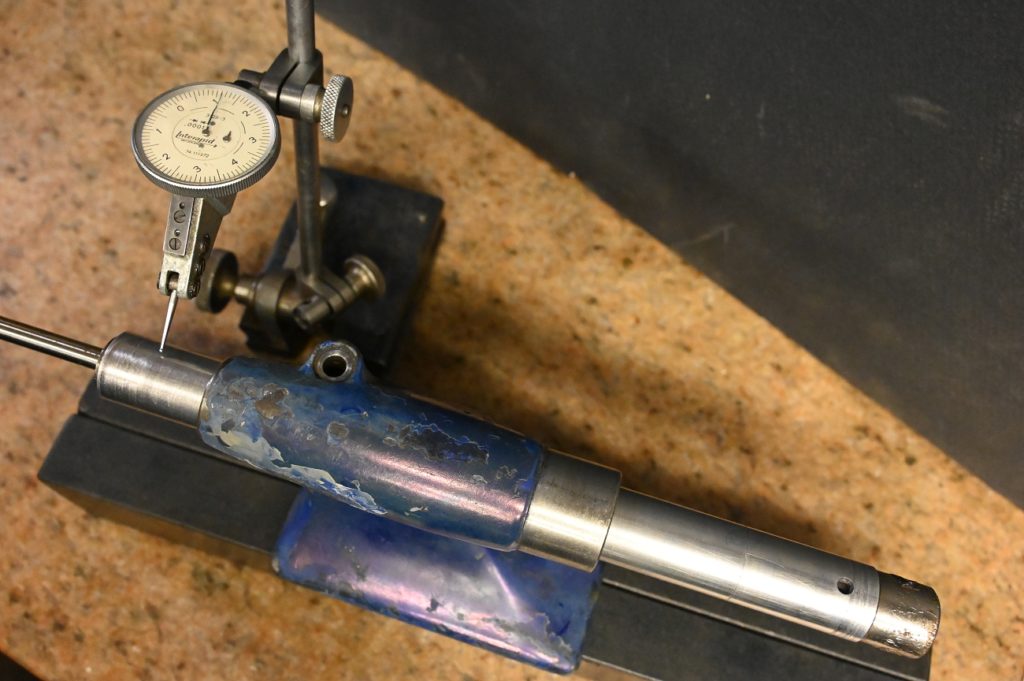
Using a micron dial bore gauge, I get about 1 µ deviation in diameter over the length of the board and in any radio position. That is extremely accurate!
Of course with lapping you also get a fantastic finish, Better than grinding
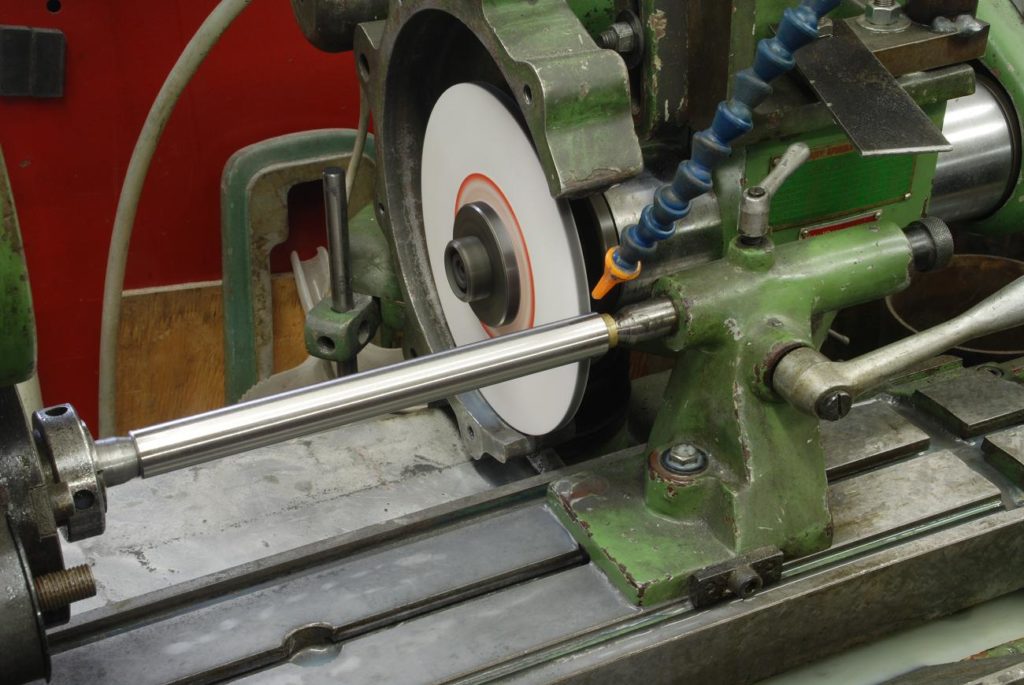
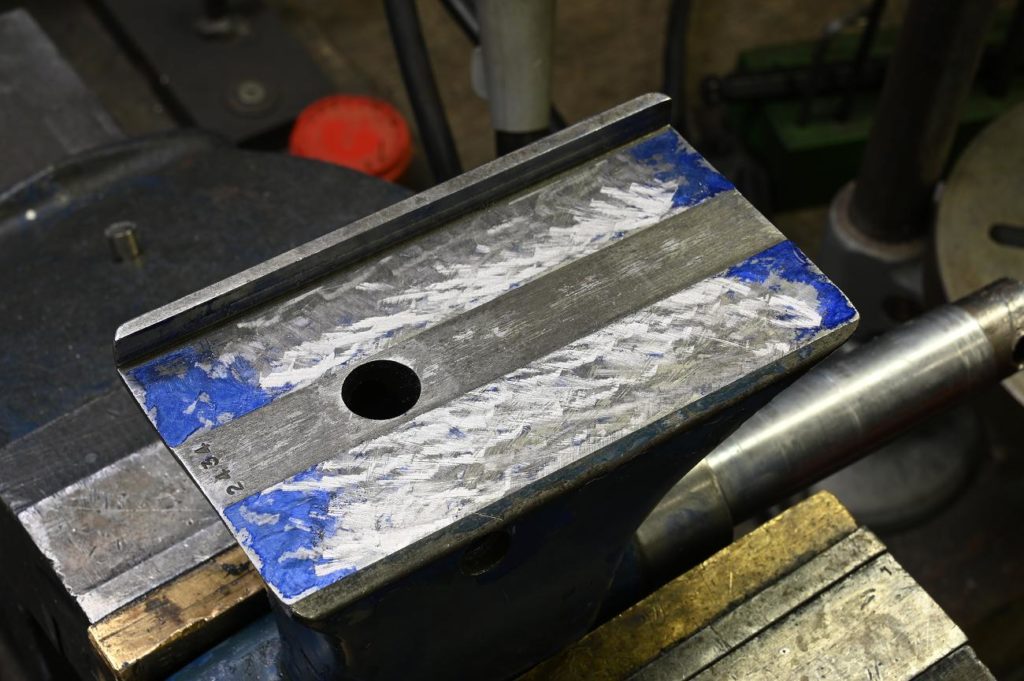
To deal with a quill, we must send it out for hard chromium to build up its outside diameter. Prior to doing so the plating shop suggests grinding the work to create a clean surface on which to plate. If you don’t have grinding equipment, it would be best to outsource As well as the finish grinding of the plated quill
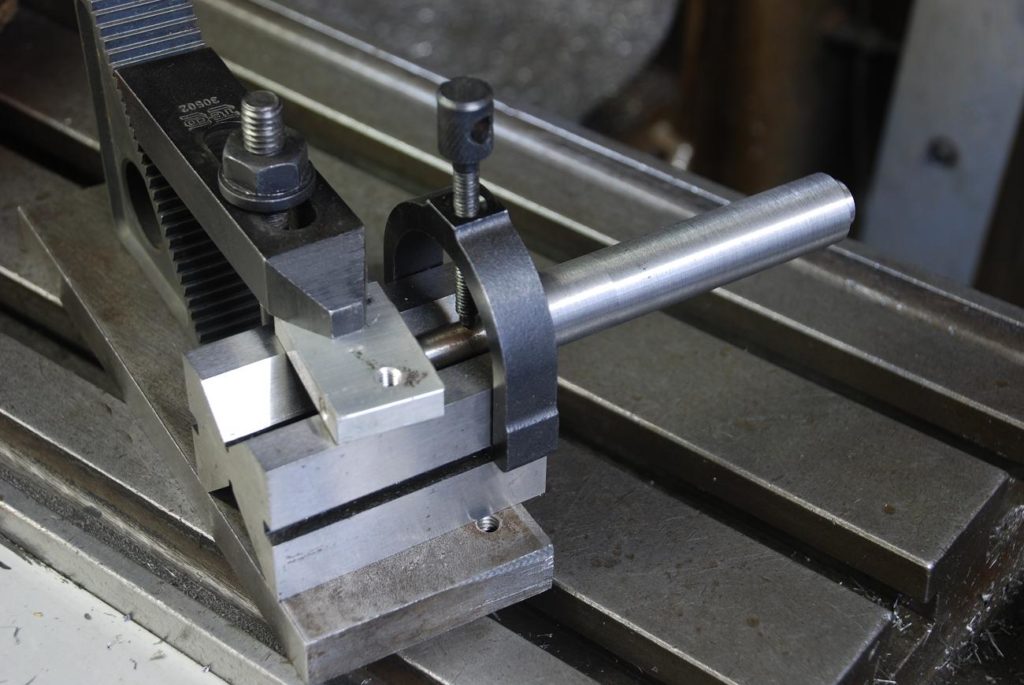
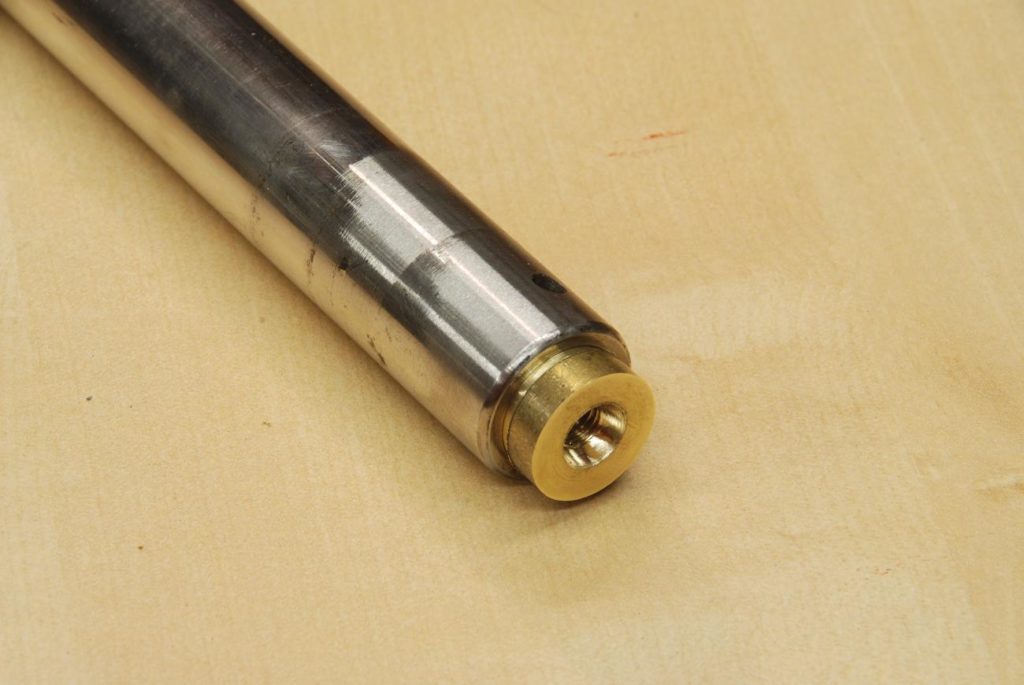
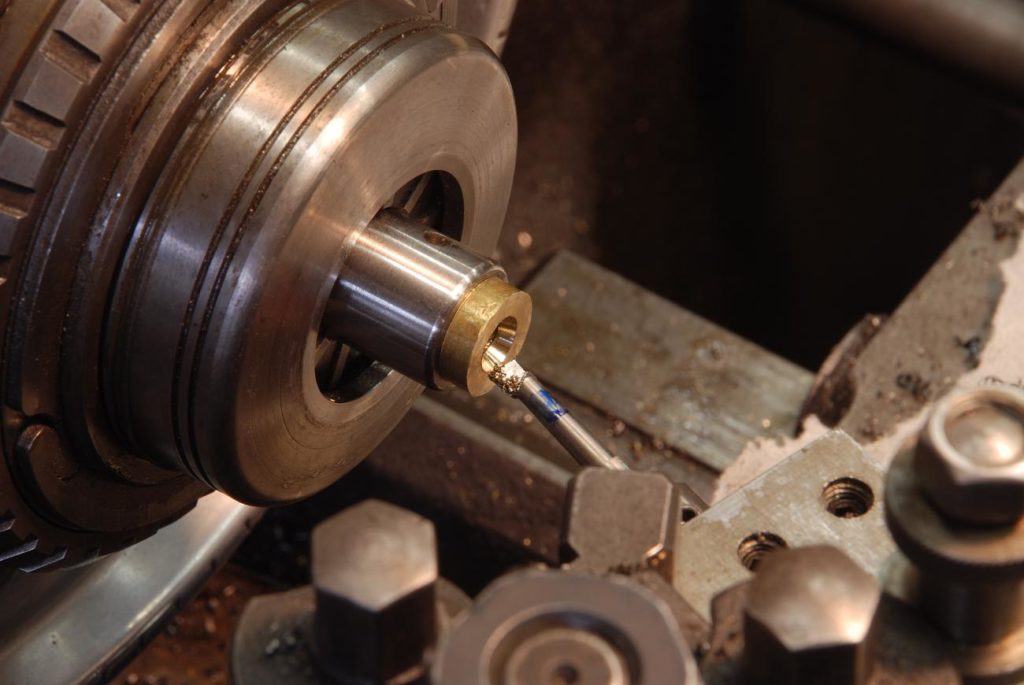
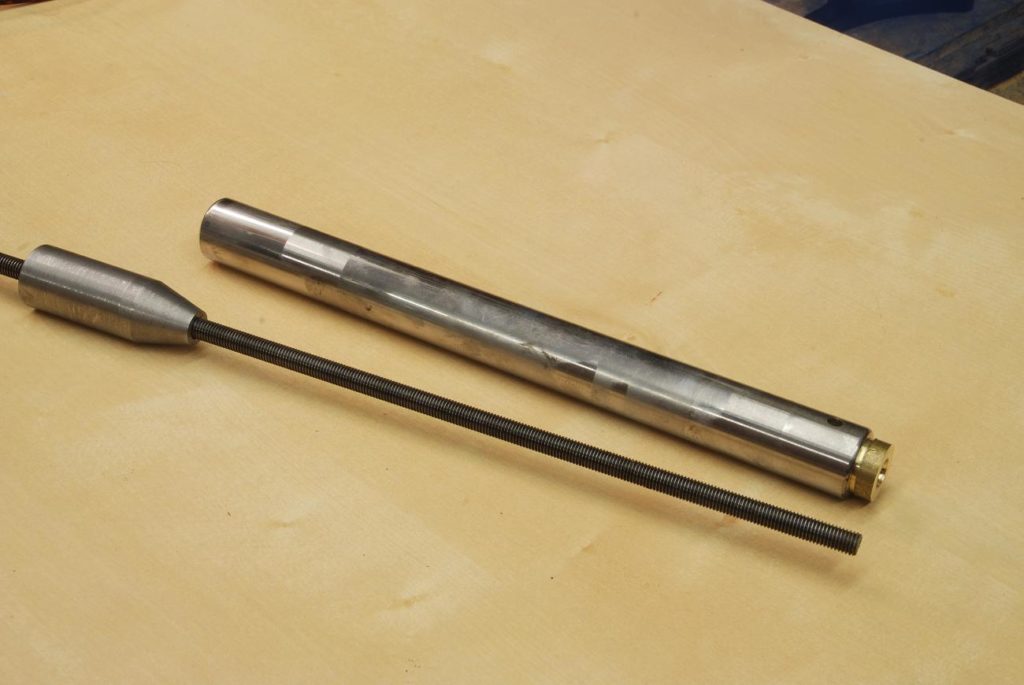
As we must grind over the entire length of the quill, more tooling needs to be devised. I made a brass plug a very light press fit in one end of the quill. It then has a center turned into it in situ and is threaded.
threaded rod passes through the quill into this turned center at one end, and that the other Threads into a bar with a taper turned to fit the call at the end of the quill. As this is just a rough work at this point, this was sufficient. When I am doing the finish grind, the taper on the rod will be ground in situ once it’s mounted in the grinder’s collet
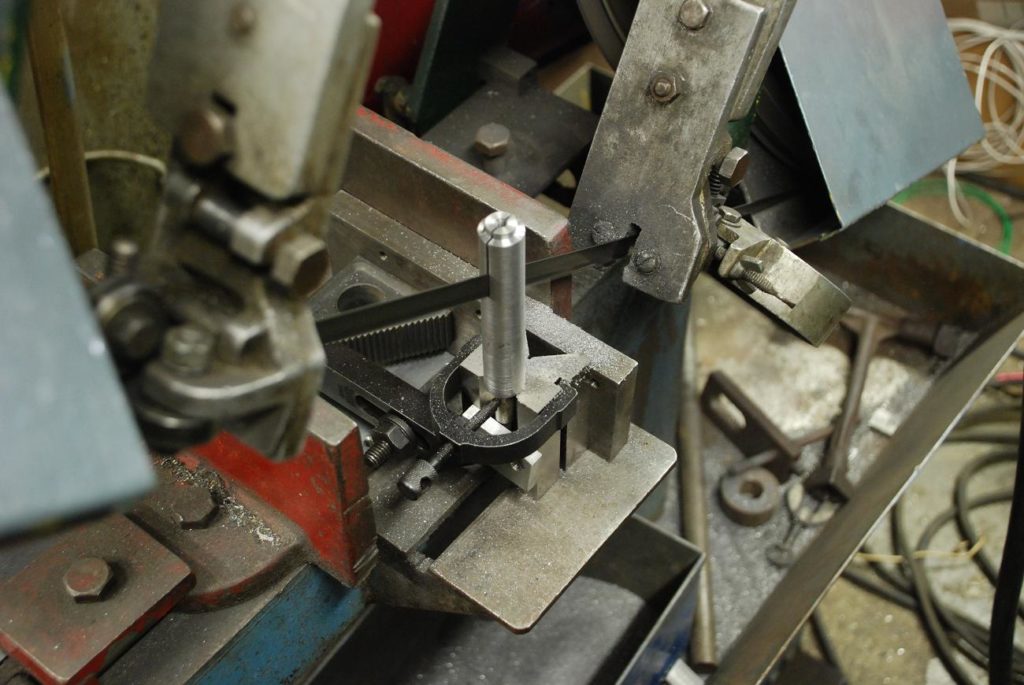
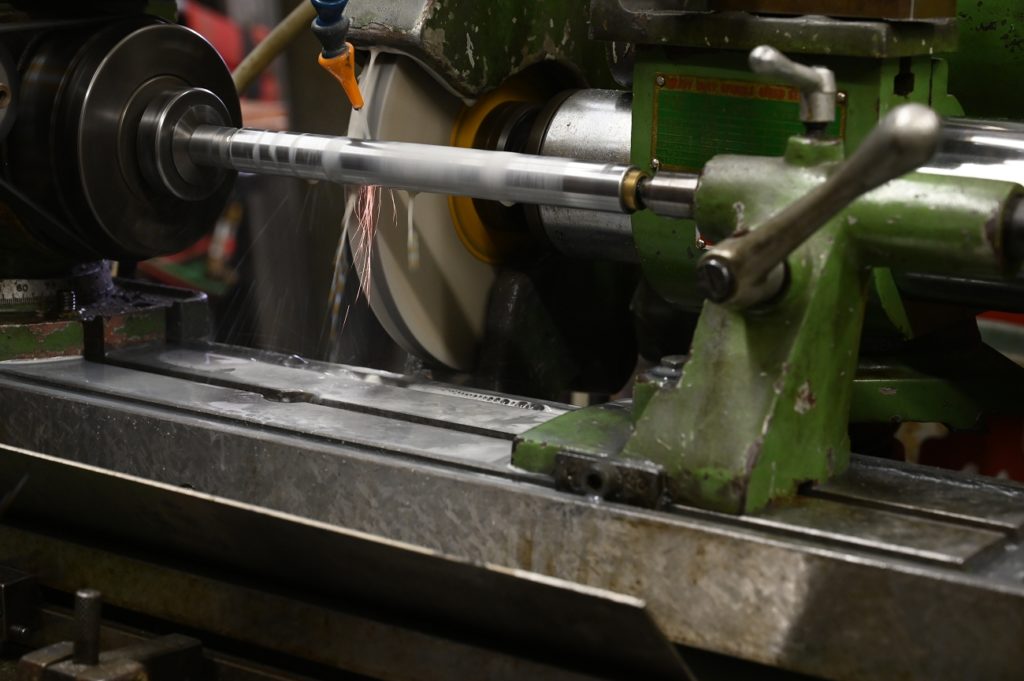
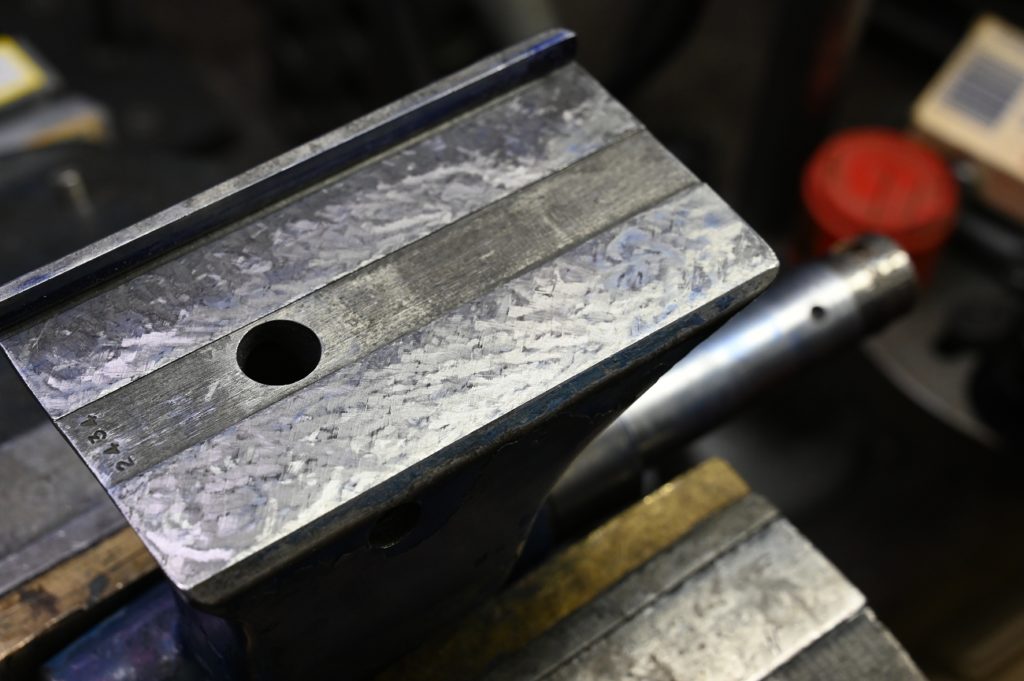
Grinding the quill. This grind is just to prepare the quill for hard chroming
The quilt rough ground and ready to be sent for plating
After coming back from the plates, the quill is ground. This was a bit of an adventure.
Hard chrome is hard! Regular grinding wheels work, but are slow. I thought I would upgrade to an expensive CBN wheel. Unfortunately, being my first CBN rodeo I didn’t know how to dress the wheels and grind pattern slight resembled a patchwork quilt as the wheel made contact during part of a revolution.
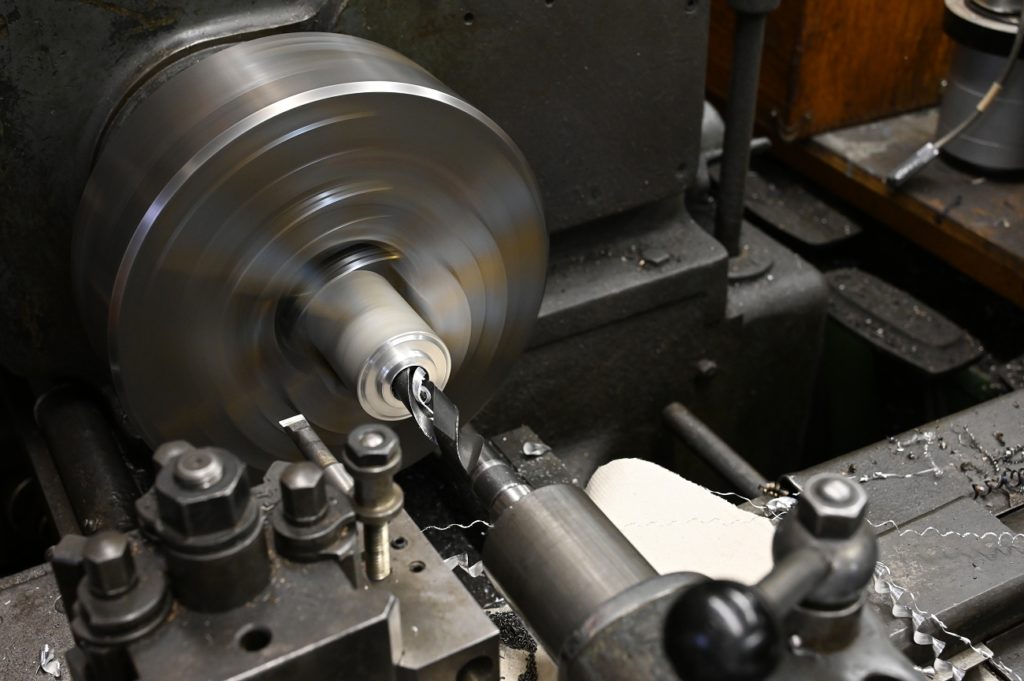
That wouldn’t do! At this point things are a bit stressful as I’m not getting the results I want but am running out of runway – if I go too small I’ll the fit I want in the bore
I decided I would diamond lap the quill. This was my best chance at getting a straight accurate cylinder and finish while have a slow rate of material removal so I didn’t overshoot the dimension
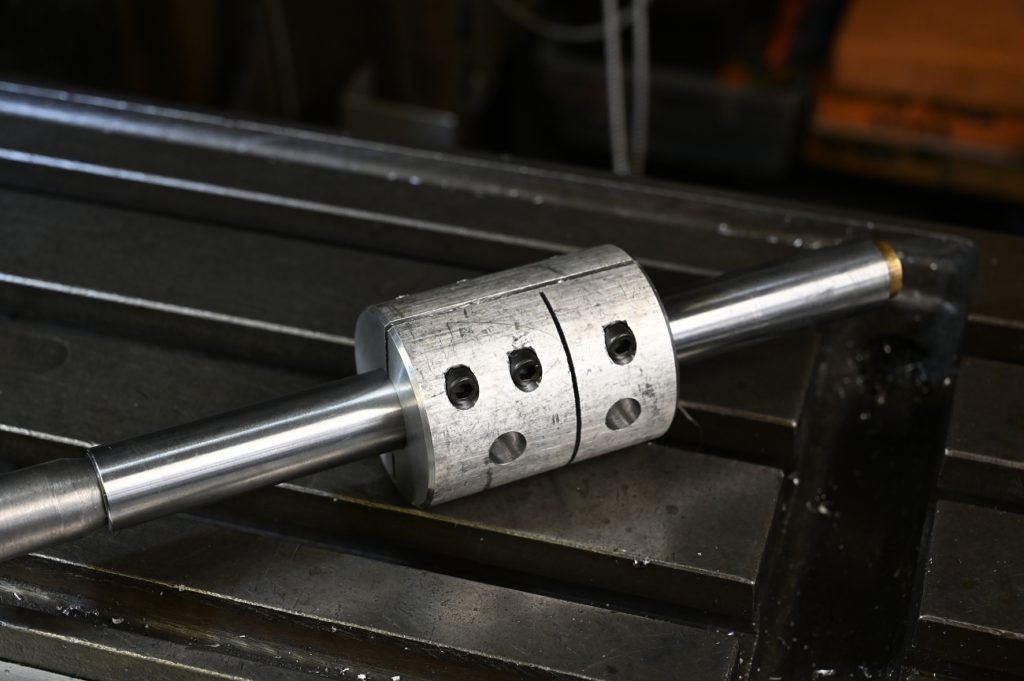
I made two laps out of a bar of AL
Before seperating the two, this photo shows the laps sitting on the quill
Lapping.
Note how the lathe is covered in paper towels held down with pot magnets. This is heavy commercial towel, not kitchen stuff. Please don’t use rags, they are quite dangerous around rotating machinery.
This shot also catches me on the phone. No, I’m not checking emails! The new fancy camera lets me control it from the phone which is really great – I can set the camera up on a tripod at any position and see what it sees on my phone then touch the phone screen to to take a photo.
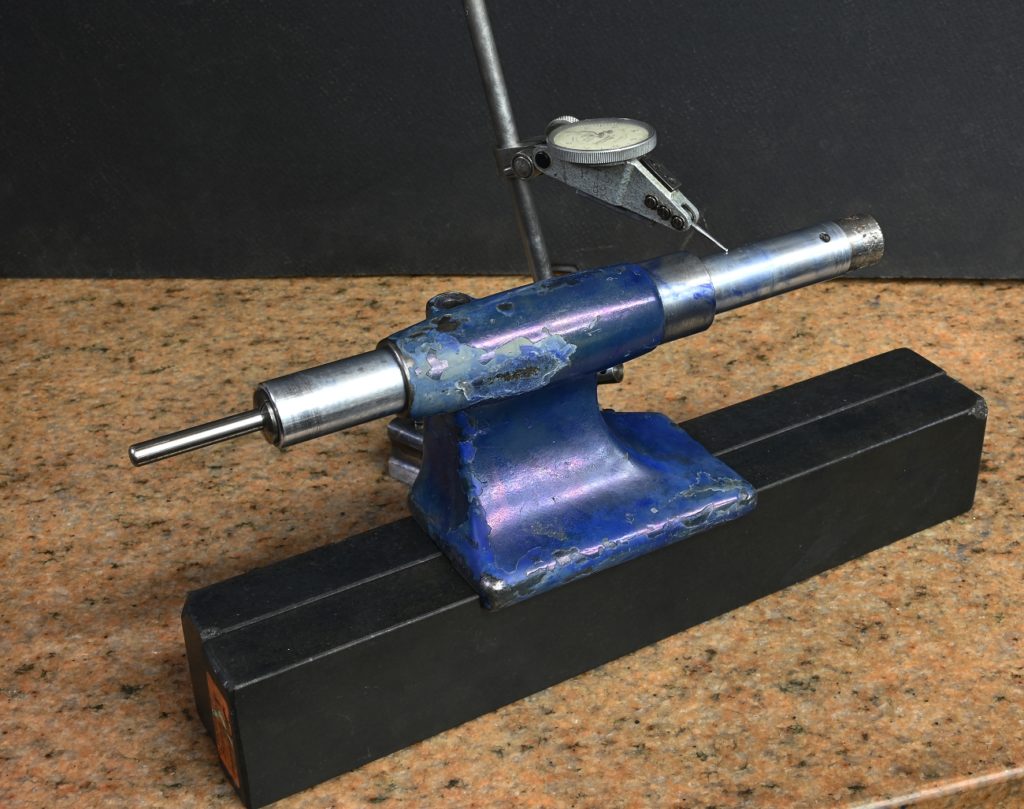
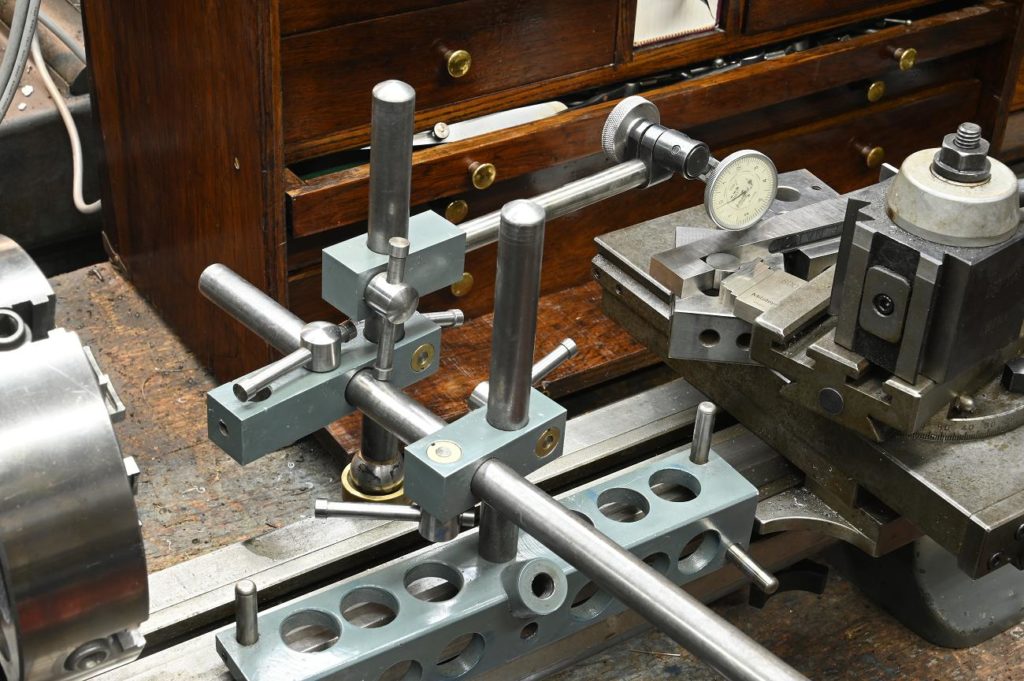
After fitting the quill to the bore, I sat assemblty on some precision parallels and indicated each end of the quill
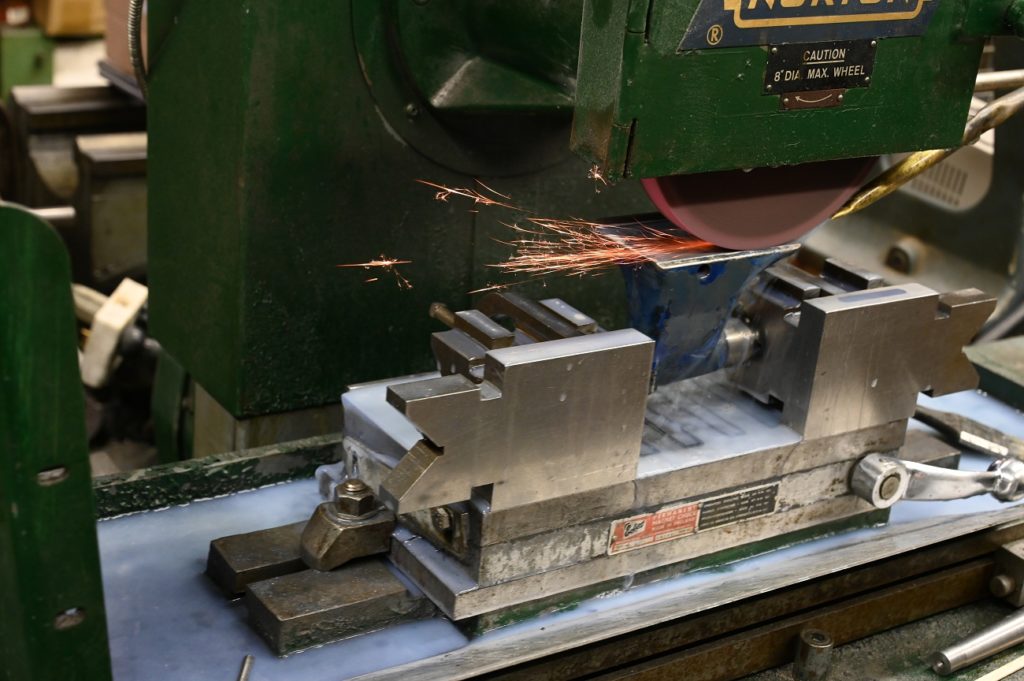
The bottom was out relative to the bore enough that I decided grinding would expedite things. Normally the tailstock would start low and it would take minimal material removal to fix, then headstock would be brought down to its level. However, as I had to take several thou off the bottom the headstock, its actually the tailstock that has to be brought down.
I used a couple of large V blocks, the style that can be set on their sides.
Grinding the bottom of the tailstock
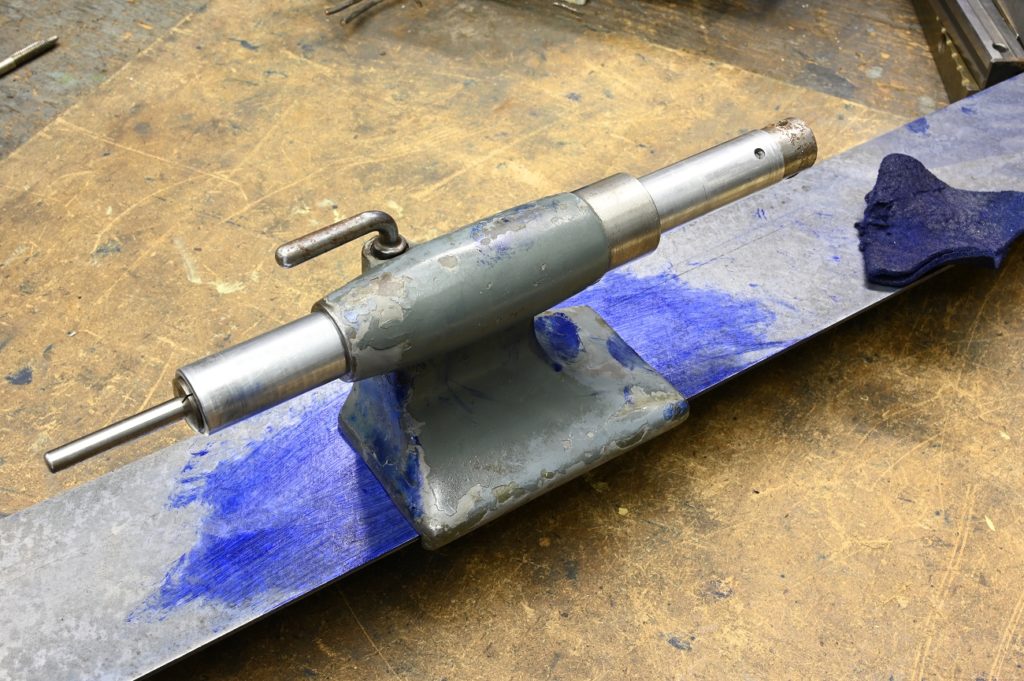
After grinding, I still want to scrape it in. I want things to a tenth and cannot guarantee my grinding setup would have brought this about.
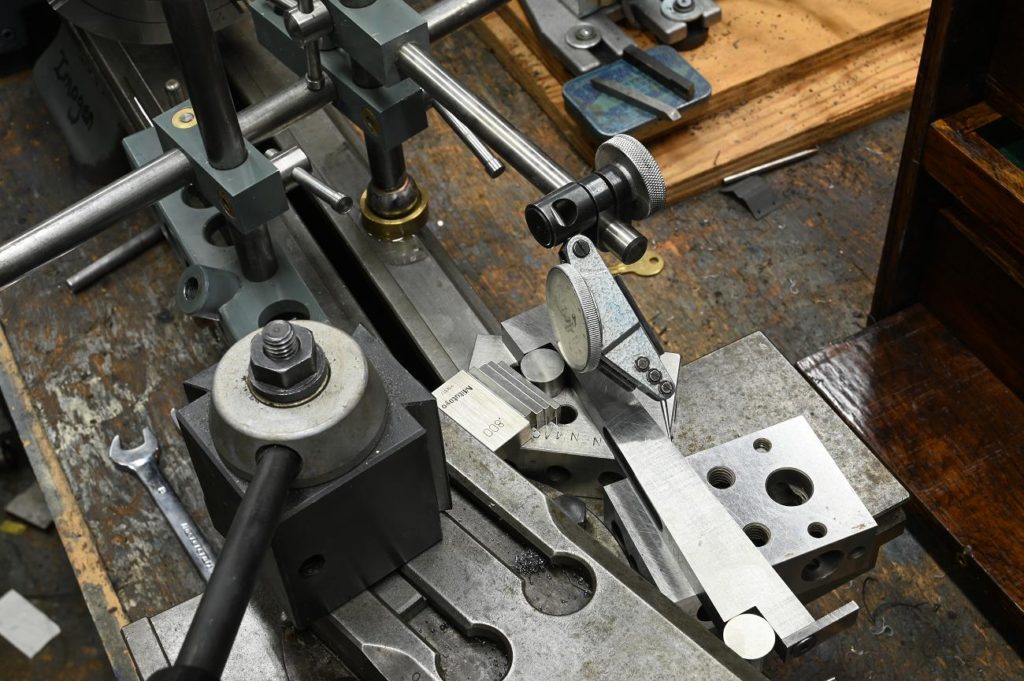
Because of the tailstock bottom was not flat, I used a large dovetail reference flat to spot it
This shot was actually taken before grinding, however I include it to illustrate it’s spotting pattern.
A pattern like this, with the centre high is a bit dangerous as the work can rock while spotting and you can chase your tail.
To handle this, I like to every so slightly rough scrape a hollow in the centre. Don’t go two deep, just enough that you get a couple iterations of spotting just on the ends. If you start getting contact in the centre before there is alignment, just do a but more hollowing out where needed until you are only spotting on the ends again.
Then its easy to work the ends to bring the part into perfect alignment
If you’ve done it all properly (didn’t create too much of a hollow) you should be able to bring it all into one plane fairly easily once alignment is achieved.
Of course alignment is checked by indicating the quill. When we get no difference end to end, the base is parallel to the quill.
We’ve got the tailstock true in one plane (Z/X), and now need to get it true in the second (Z/Y); the surface the contacts the front edge of the bed.
If you are confused about the axis, on any machine, Z is always the spindle. On a lathe this is the direction of the bed obvious, and X is the in and out of the cross slide. The last direction, vertical, is the Y
I knew the tailstock was low in Z/X,. so it needed treatment before the headstock (If I’d scraped the headstock first, I’d no way of scraping the tailstock “up”)
However I don’t yet know which is which the Z/Y plane. So far, its just been scraping the TS base for parallelism, but now we need to think about alginment of the head stock and tailstock.
I’m going to get there by holding precision ground pins in the headstock and tailstock, both with collets. Then I can indicate the different between the two. Before I can do that however, I need to grind the tailstock taper so I can accurately hold said pin